DIY: Sanding and treating the floorboards.
I always said when the floorboards are sanded I’ll know I’ll be getting to the end of the renovations. As you know I’ve been slowly making over my ex authority semi on the tiniest of budgets and all by myself and while it’s been a satisfying task I am ready to be at the end of it. The first years a lot happened and then I reached renovation fatigue and have been slowly chipping at away at tasks as much as I can but with lots going on in my life I’ve had to be realistic by how much I can do and keep my sanity.
But around March time I had a reason to get cracking on with the house - I’ll share more about this soon - but over the course of a month I got a load of tasks done which resulted in me being able to sand the floors. I wanted to sand the entirety of upstairs which equates to three double bedrooms and a landing.
I’ve had some time to percolate the process for this - I’d watched endless YouTube videos and read blog posts. I’ll admit I had the fear because of how difficult everyone made out it was.
So, let me tell you off the bat now - this is actually a fairly doable job IF and only IF you are prepped. So let me help you get prepped today because if I’d known what I know now it would have been a fairly painless task.
The Before Pictures.


Preparation and booking.
Because I’m living in my house it wasn’t going to work me emptying upstairs so I decided I would tackle the sanding room by room. You will need to move as much as you can out the room and tape up any cupboards/fitted wardrobes so dust can’t get in.
You’ll need to book in your sander in advance to make sure you can get one for the days you’ve set aside. I HIGHLY recommend hiring the edger as well - I have a good orbital sander and it barely touched the sides, literally. If your floorboards are in need of a good sand back don’t think you can do it with a handheld - save your sanity and hire the edging machine because what you save on the hire cost you’ll lose in buying 100’s of sanding discs and your own self worth!
Now - do not ignore this advice and learn by my mistakes. Going off how much sandpaper I use on my orbital for various projects I assumed that I’d know how much sanding sheets I would need - this is not the case and you are going to need a lot more than you thought. As a rule I used 5 course sheets and then 3 finer sheets per room but you also mangle sheets if you miss knocking in a nail so allow for double that as you’ll get a refund on any sheets you send back with the sander.
And now the most important bit and I cannot stress this enough - make sure you have enough dust bags. Do not scrimp on this because you cannot use any other bag for it like I thought I would be able to - you need the paper ones that are designed specifically for each machine. They rip easily and once they do dust will spew everywhere and you’ll question every decision you’ve made in your life that leads to this point. As a rule buy 3 bags for each machine for each room. Again, you can get a refund on any you don’t use but having the correct bags is essential to you not spending hours trying to tackle the overwhelming dust - with the bags correctly in place most of the dust is hoovered up tidily.
Make sure your neighbours know what you are doing because this is not a quiet job - it’s common courtesy to let them know what you are upto and how long it will take. I popped a card through my neighbours door to let them know that I’d be doing the job over two days and will start at midday each day and make sure I’m not sanding after 5pm. I think as long as people know when they can expect to not have to hear the noise anymore it helps with them knowing it won’t be going on all night.
Sanding.
First off make sure you have hammered in any visible nails in your floorboards. If the sander hits them it was mangle the paper and you’ll be swearing. It’s well worth taking some time to make sure this is done properly.
With both of the machines take a moment to watch the videos from your hire company to show how they work. I hired mine from HSS - I did have some problems with the hire from my local place which resulted in me having to change the days which was a pain as all the furniture was moved out of my bedroom.
Start with the edging sander working your way around the edges of each room. Start with a course grit sandpaper like 40 grit and once you are round go over with a 120 grit. I found I didn't really need to go any finer than that for the edges. Be careful around radiator pipes - I nicked one of mine and water started spurting everywhere which resulted in an emergency plumber bill - be warned!

Then the fun bit starts - get a course grit on your sander and start sanding! SO satisfying! I felt this was the easy bit - while it does take some time to run the sander over your floorboards it’s not too hard a job. Make sure you are replacing the sandpaper regularly otherwise you’ll have to work a lot harder.
Once you’re happy with how it’s looking run over again with a finer sandpaper. I went with a 180 grit and it left it so smooth. Again, don’t skip this as when you treat your floorboards any roughness will show up.
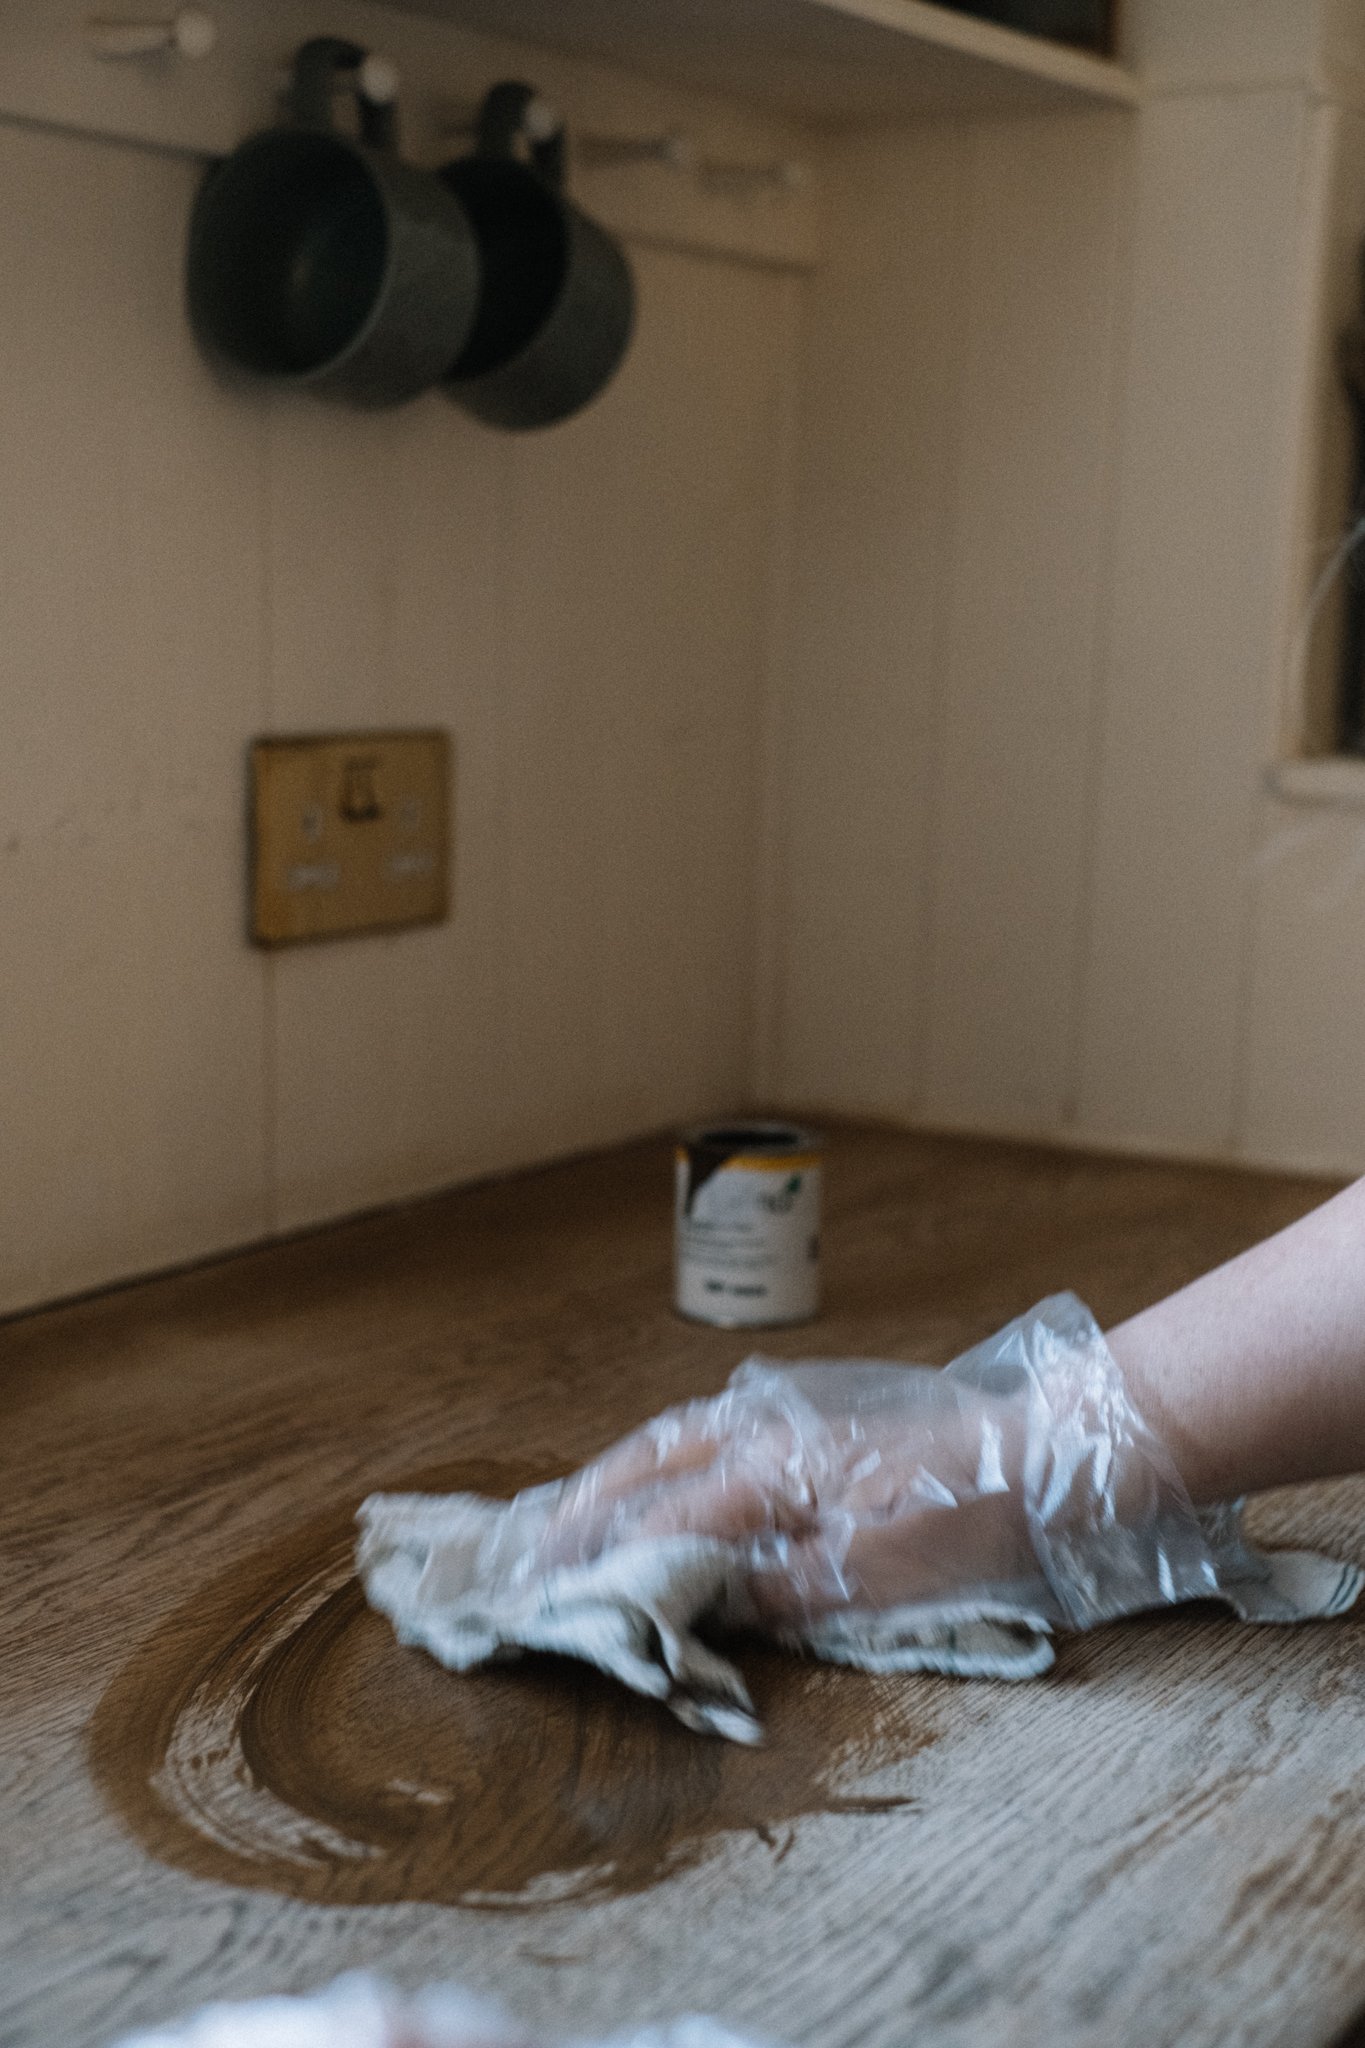
Treating.
I had the wonderful help of the folks at Wood Finishes Direct help me with this - they are experts and will guide you to find a product that suits you. I wanted something eco friendly and non toxic but something that would apply and cure quickly so I could move my furniture back quickly. In the end we settled on Ciranova Un1co - a quick drying VOC free oil. After a lot of obsessing about the samples I decided on natural white and I’m so pleased with my decision as it didn't end up orange or yellow and after a few months has cured to a gorgeous natural finish.


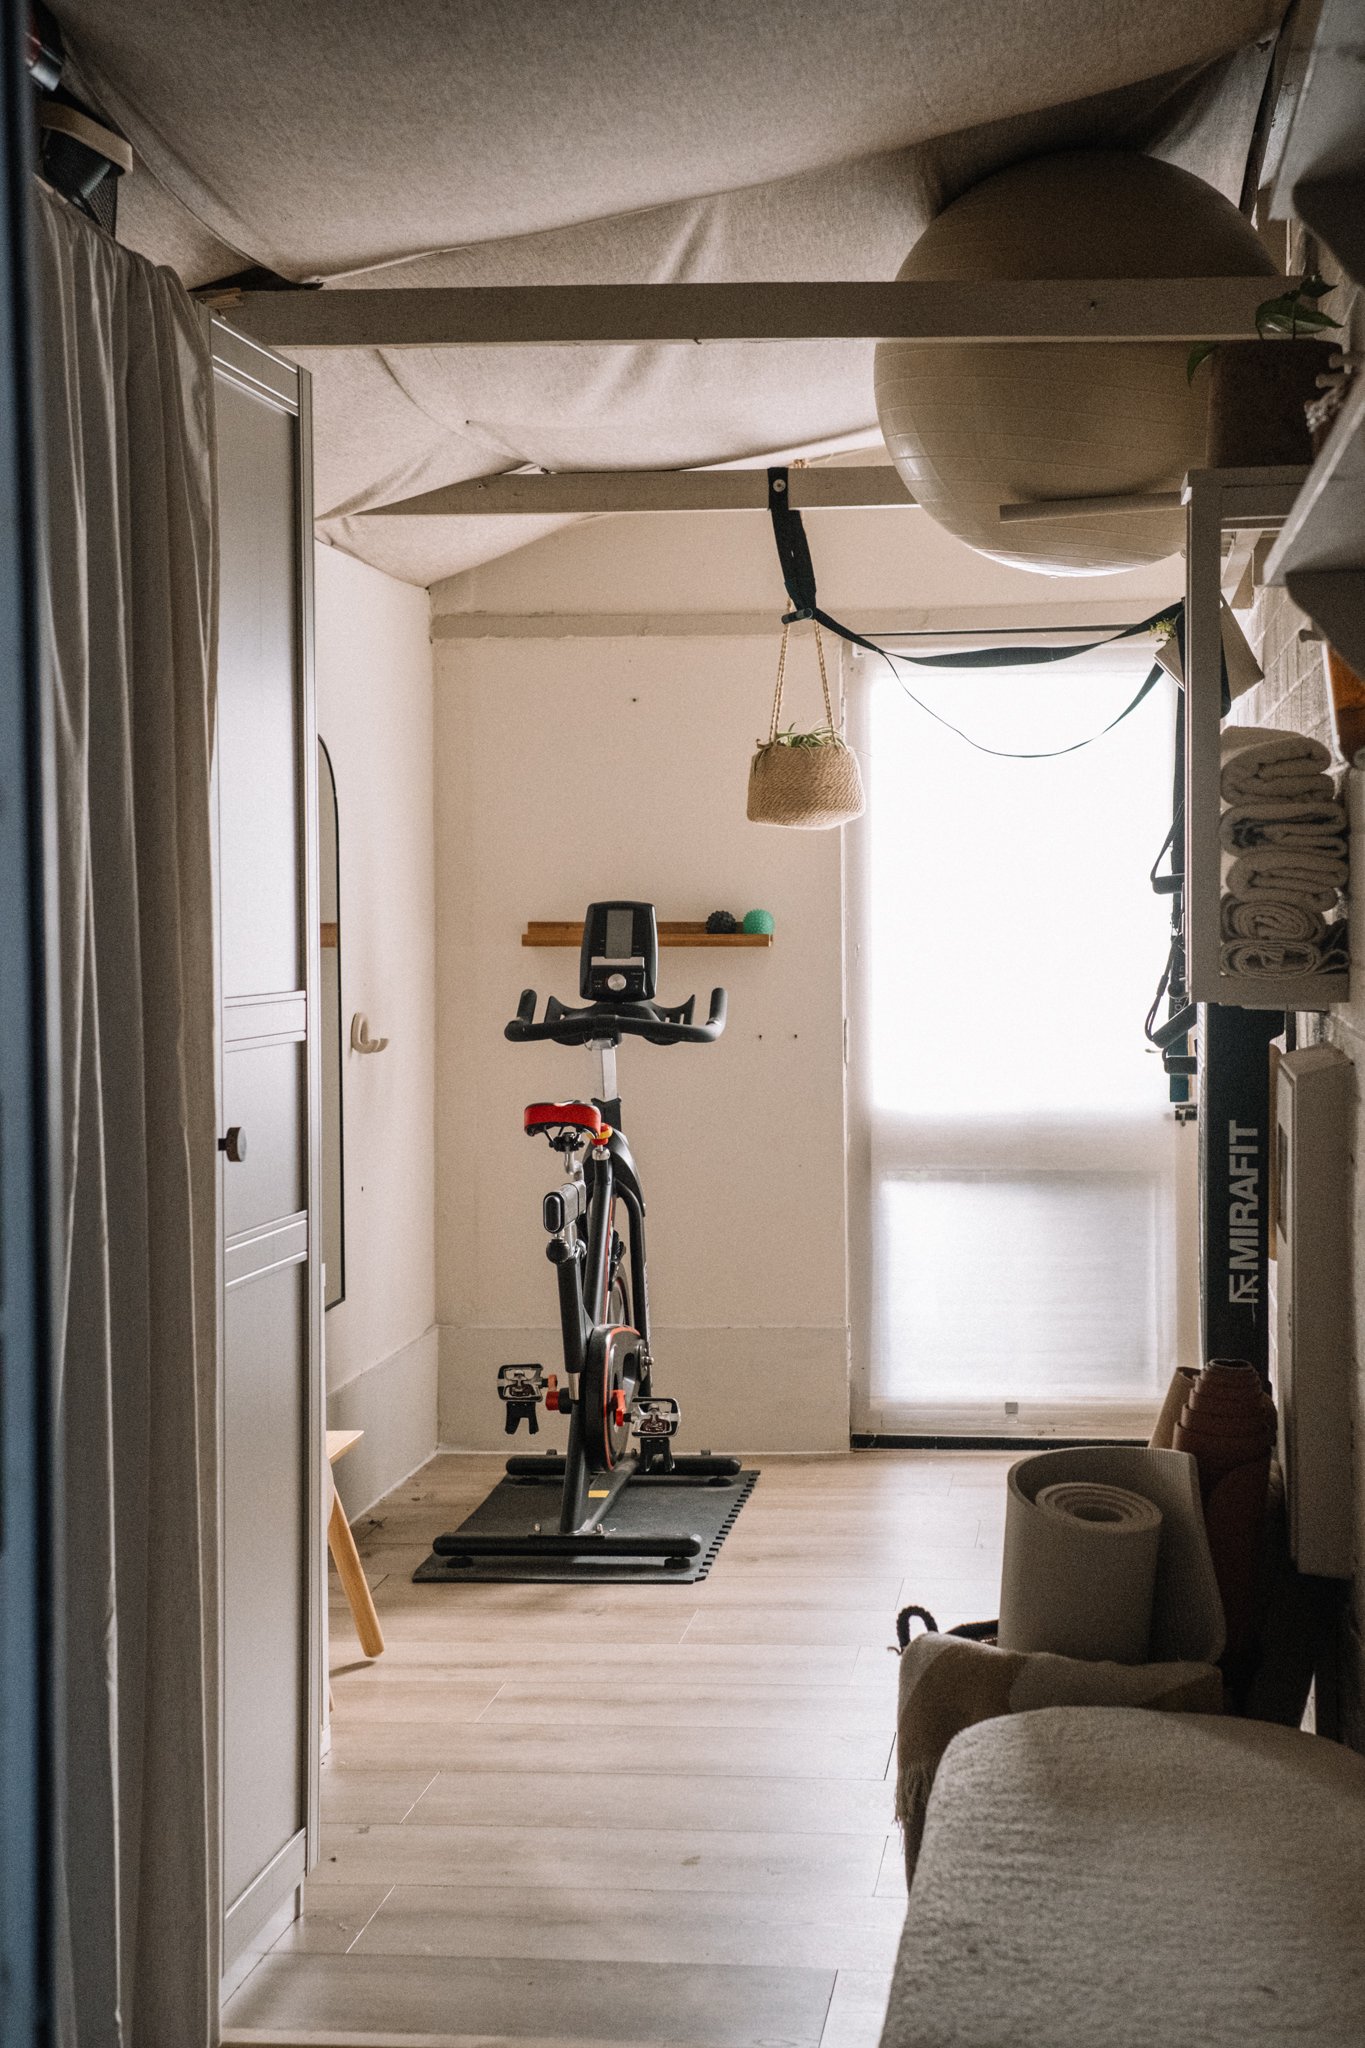
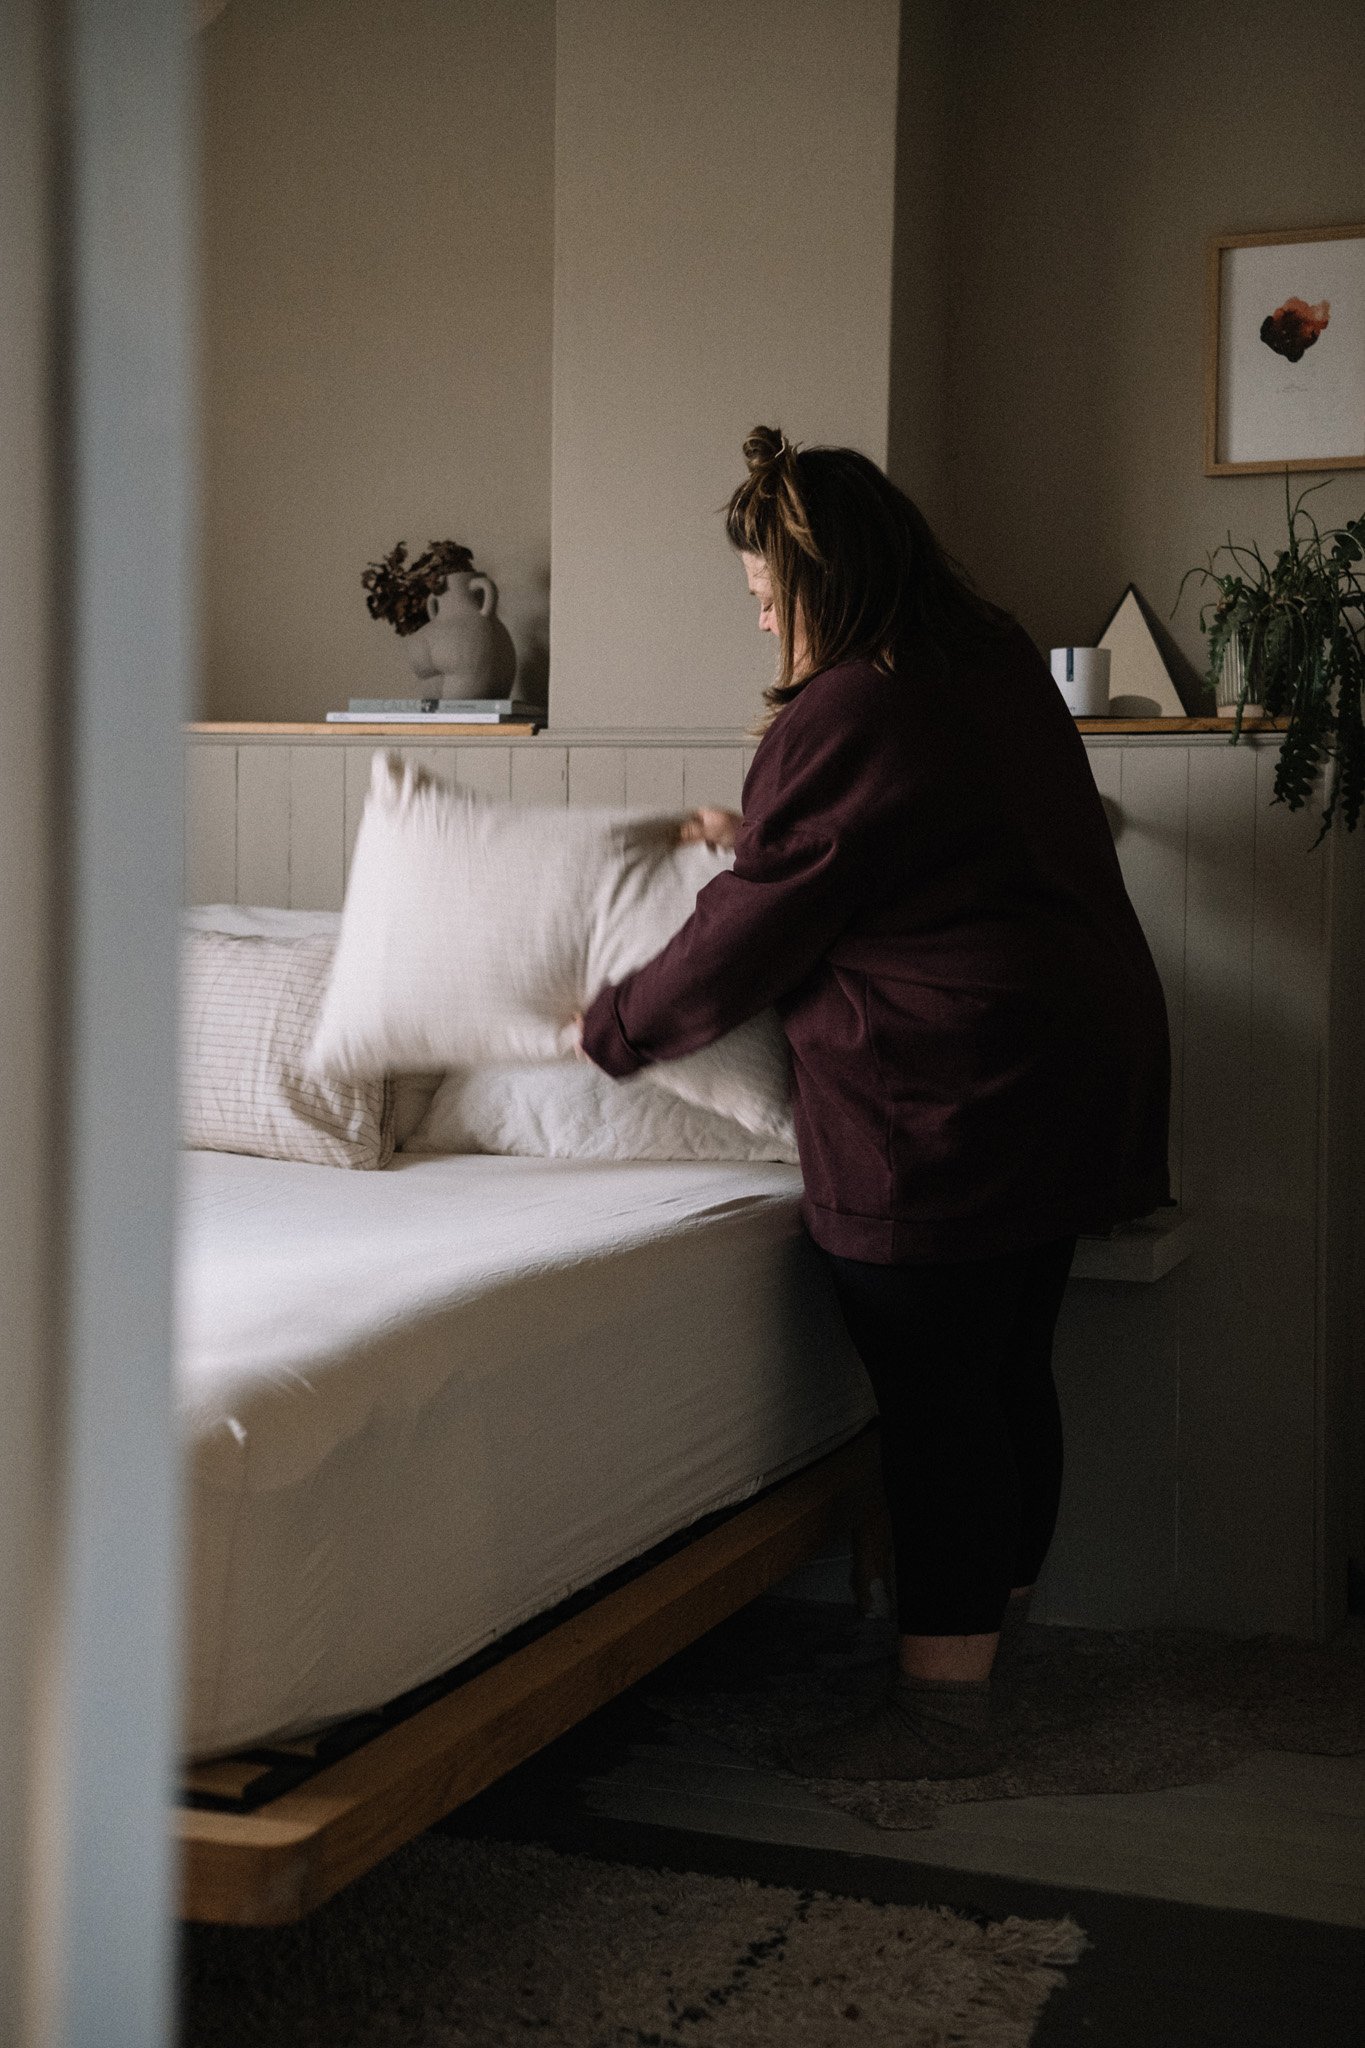
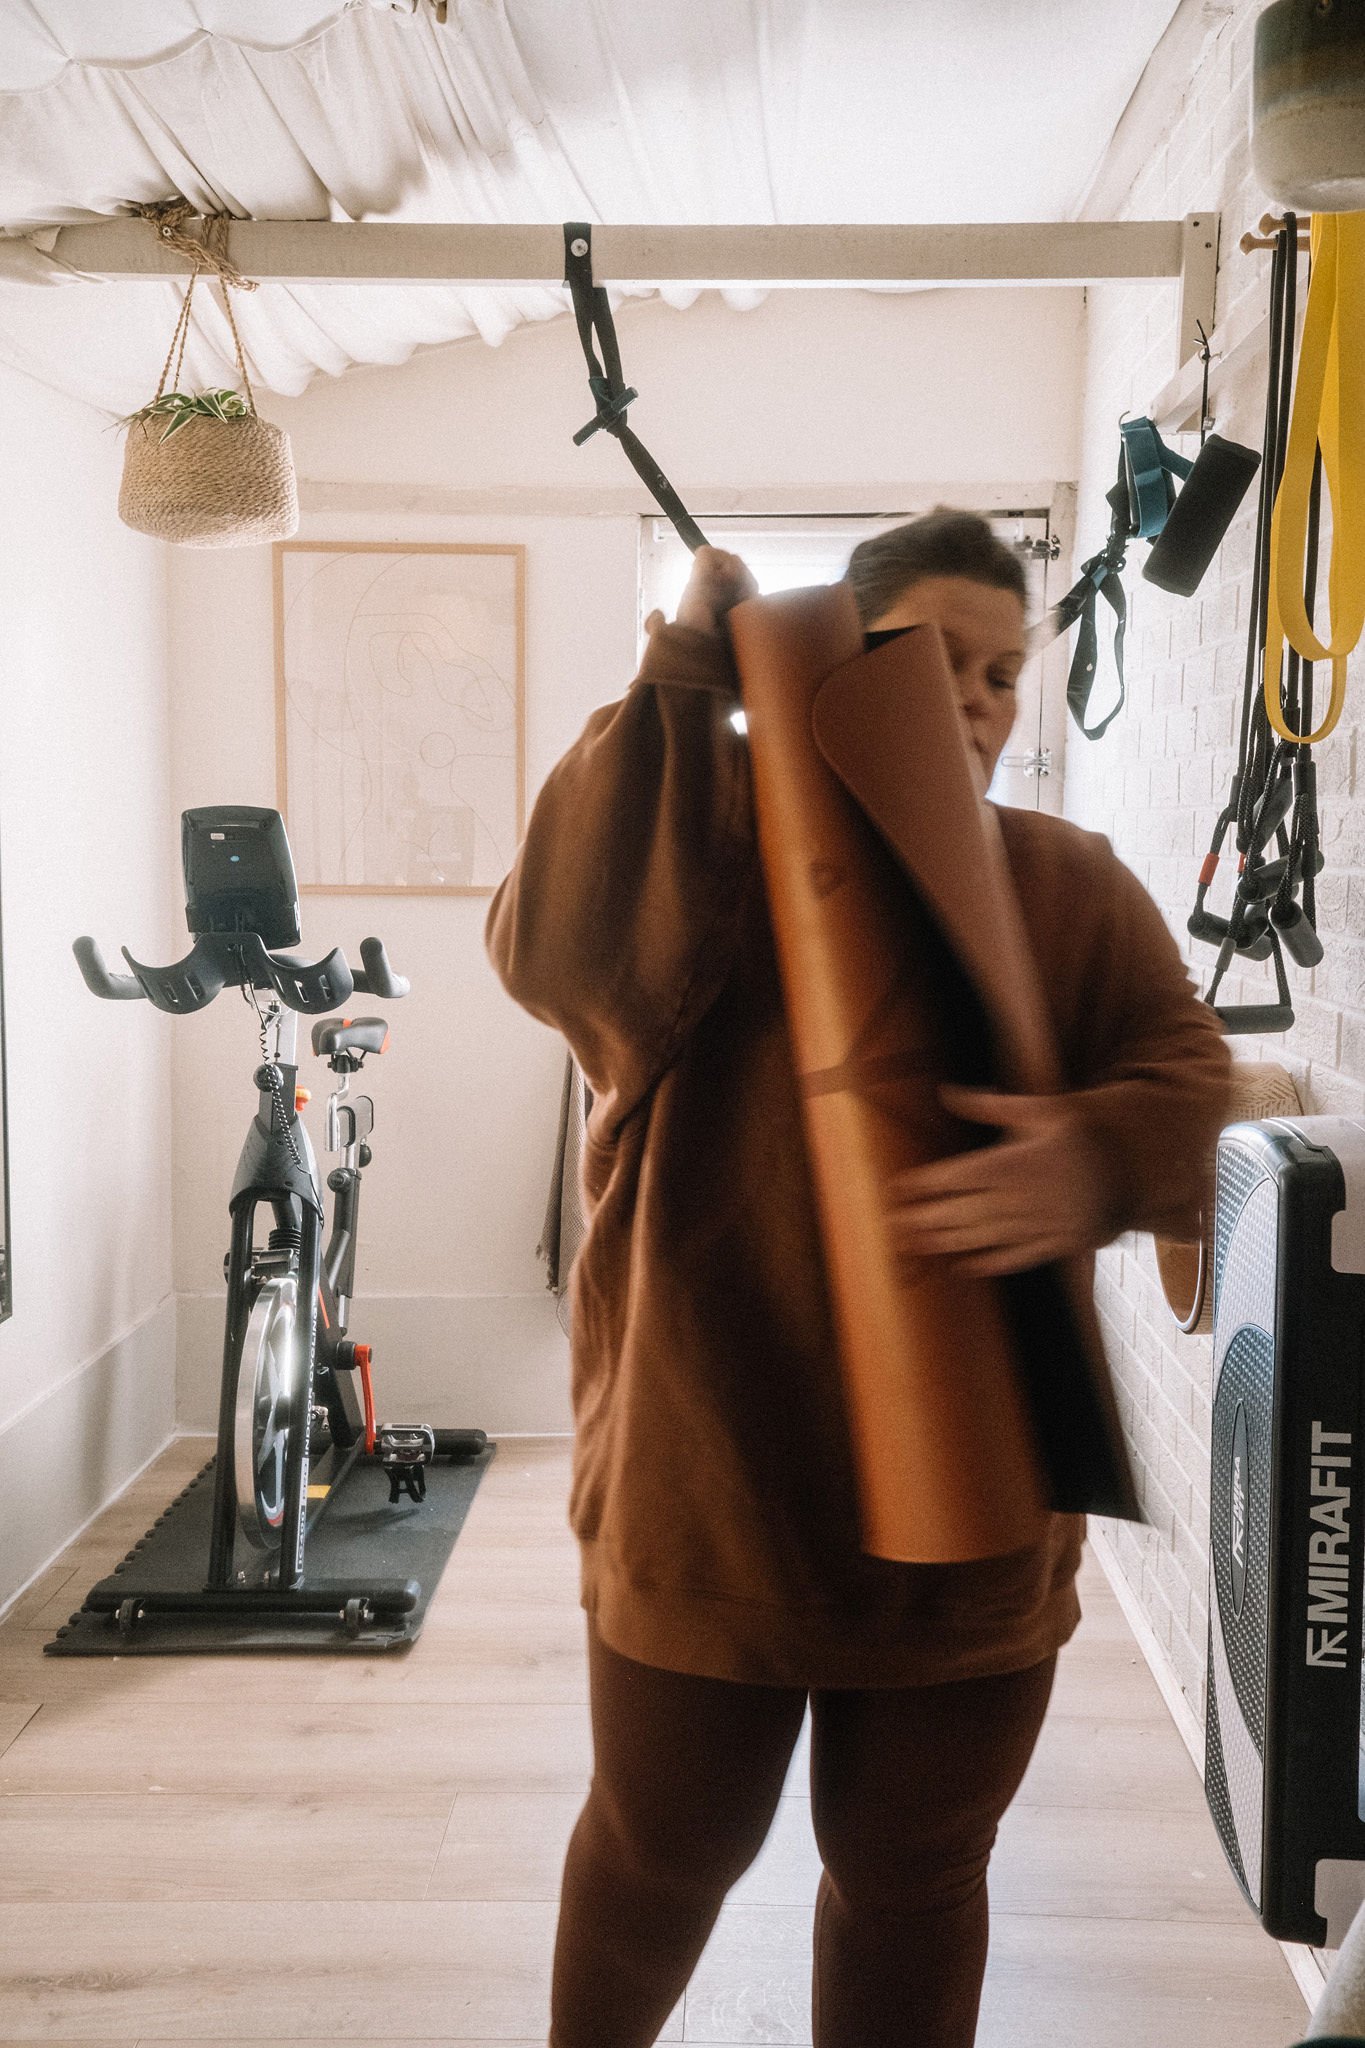
The After Pictures.


A floor to ceiling DIY dark wood shelving and desk fitted unit with a retro 70’s aesthetic.