Interiors: How to Refresh Wooden Kitchen Worktops.
This post contains affiliate links that generate a very small income if you buy after following the link, they are of no cost to you but do help with the running costs of this blog.
Wood is such a beautiful material for a kitchen. It’s warm, it’s long lasting and wooden worktops have such a natural feel adding a touch of homeliness to a kitchen but also have a used beauty to them the older they get. But wood worktops are more susceptible to stains, burns and cut marks. And perhaps you didn't know that they do need an oil a couple of times a year. I’m taking you through what you need to know about caring for a wood worktop and within an hour or two you can have beautiful worktops again!


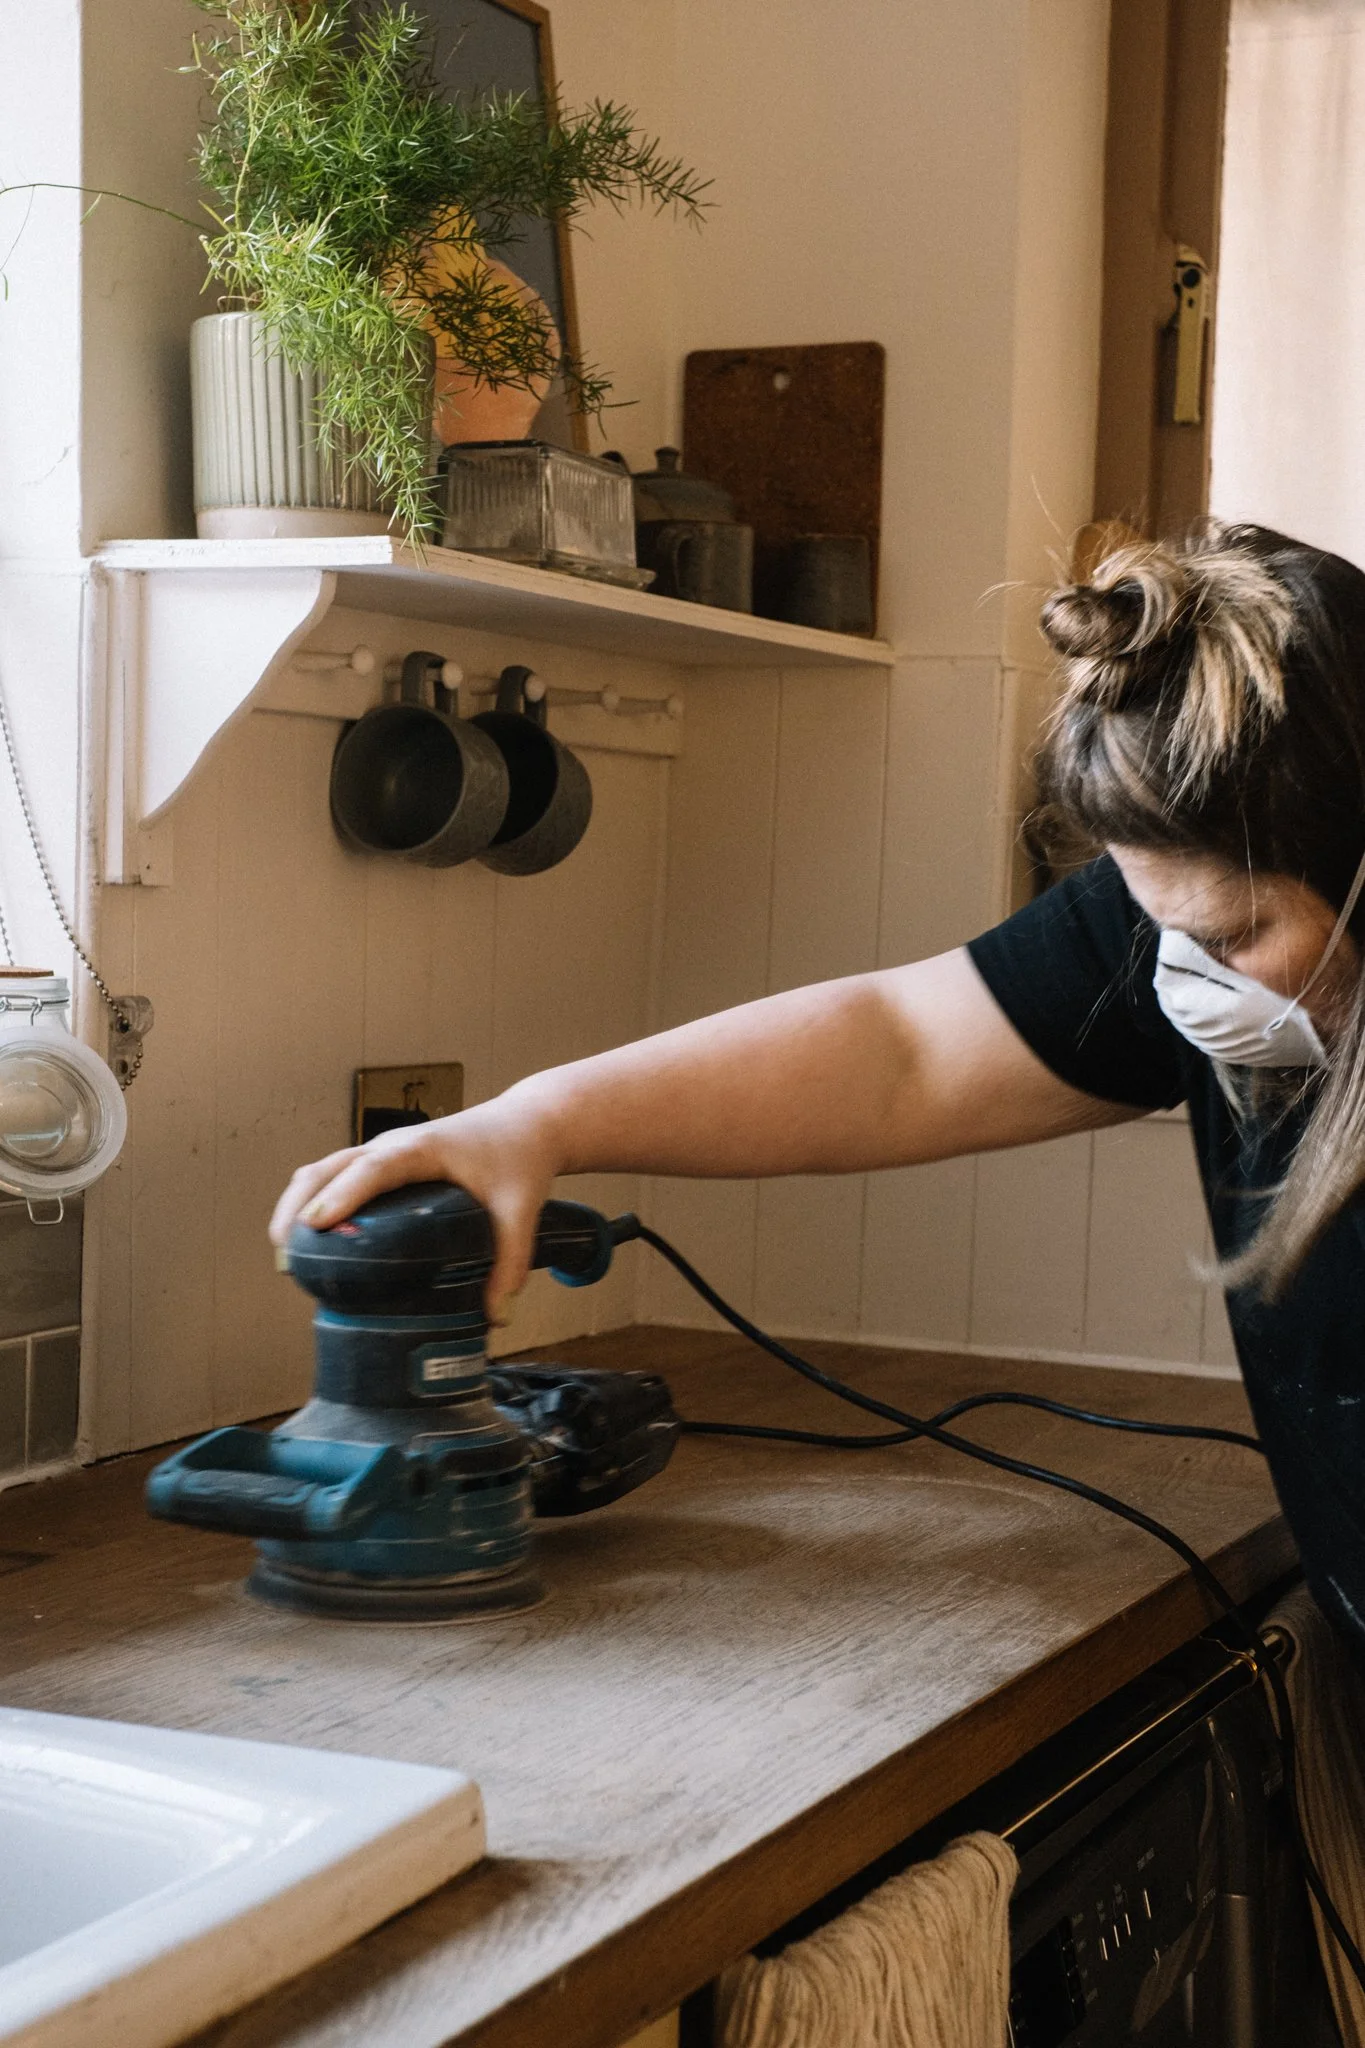
Step 1 - sand.
It’s best to use an electric sander for this - if you don’t have one perhaps you could borrow one from a friend, neighbour or use the Next Door app/ask in a local Facebook group. An orbital sander is perfect as it will leave a smooth finish, I love my orbital sander, so useful! I start with a 140 grit to remove stains and marks and then move onto the finest sandpaper - a 180 grit to create a super smooth finish. You can hand sand, you may. need to put a bit if elbow grease into the heavier stains.
Step 2 - prep the surface for oil.
Once sanded, give the worktop a super good rub down with a very lightly dampened cloth - this will remove any dust from sanding and make sure your oil distributes evenly. Leave it for half an hour to dry out.
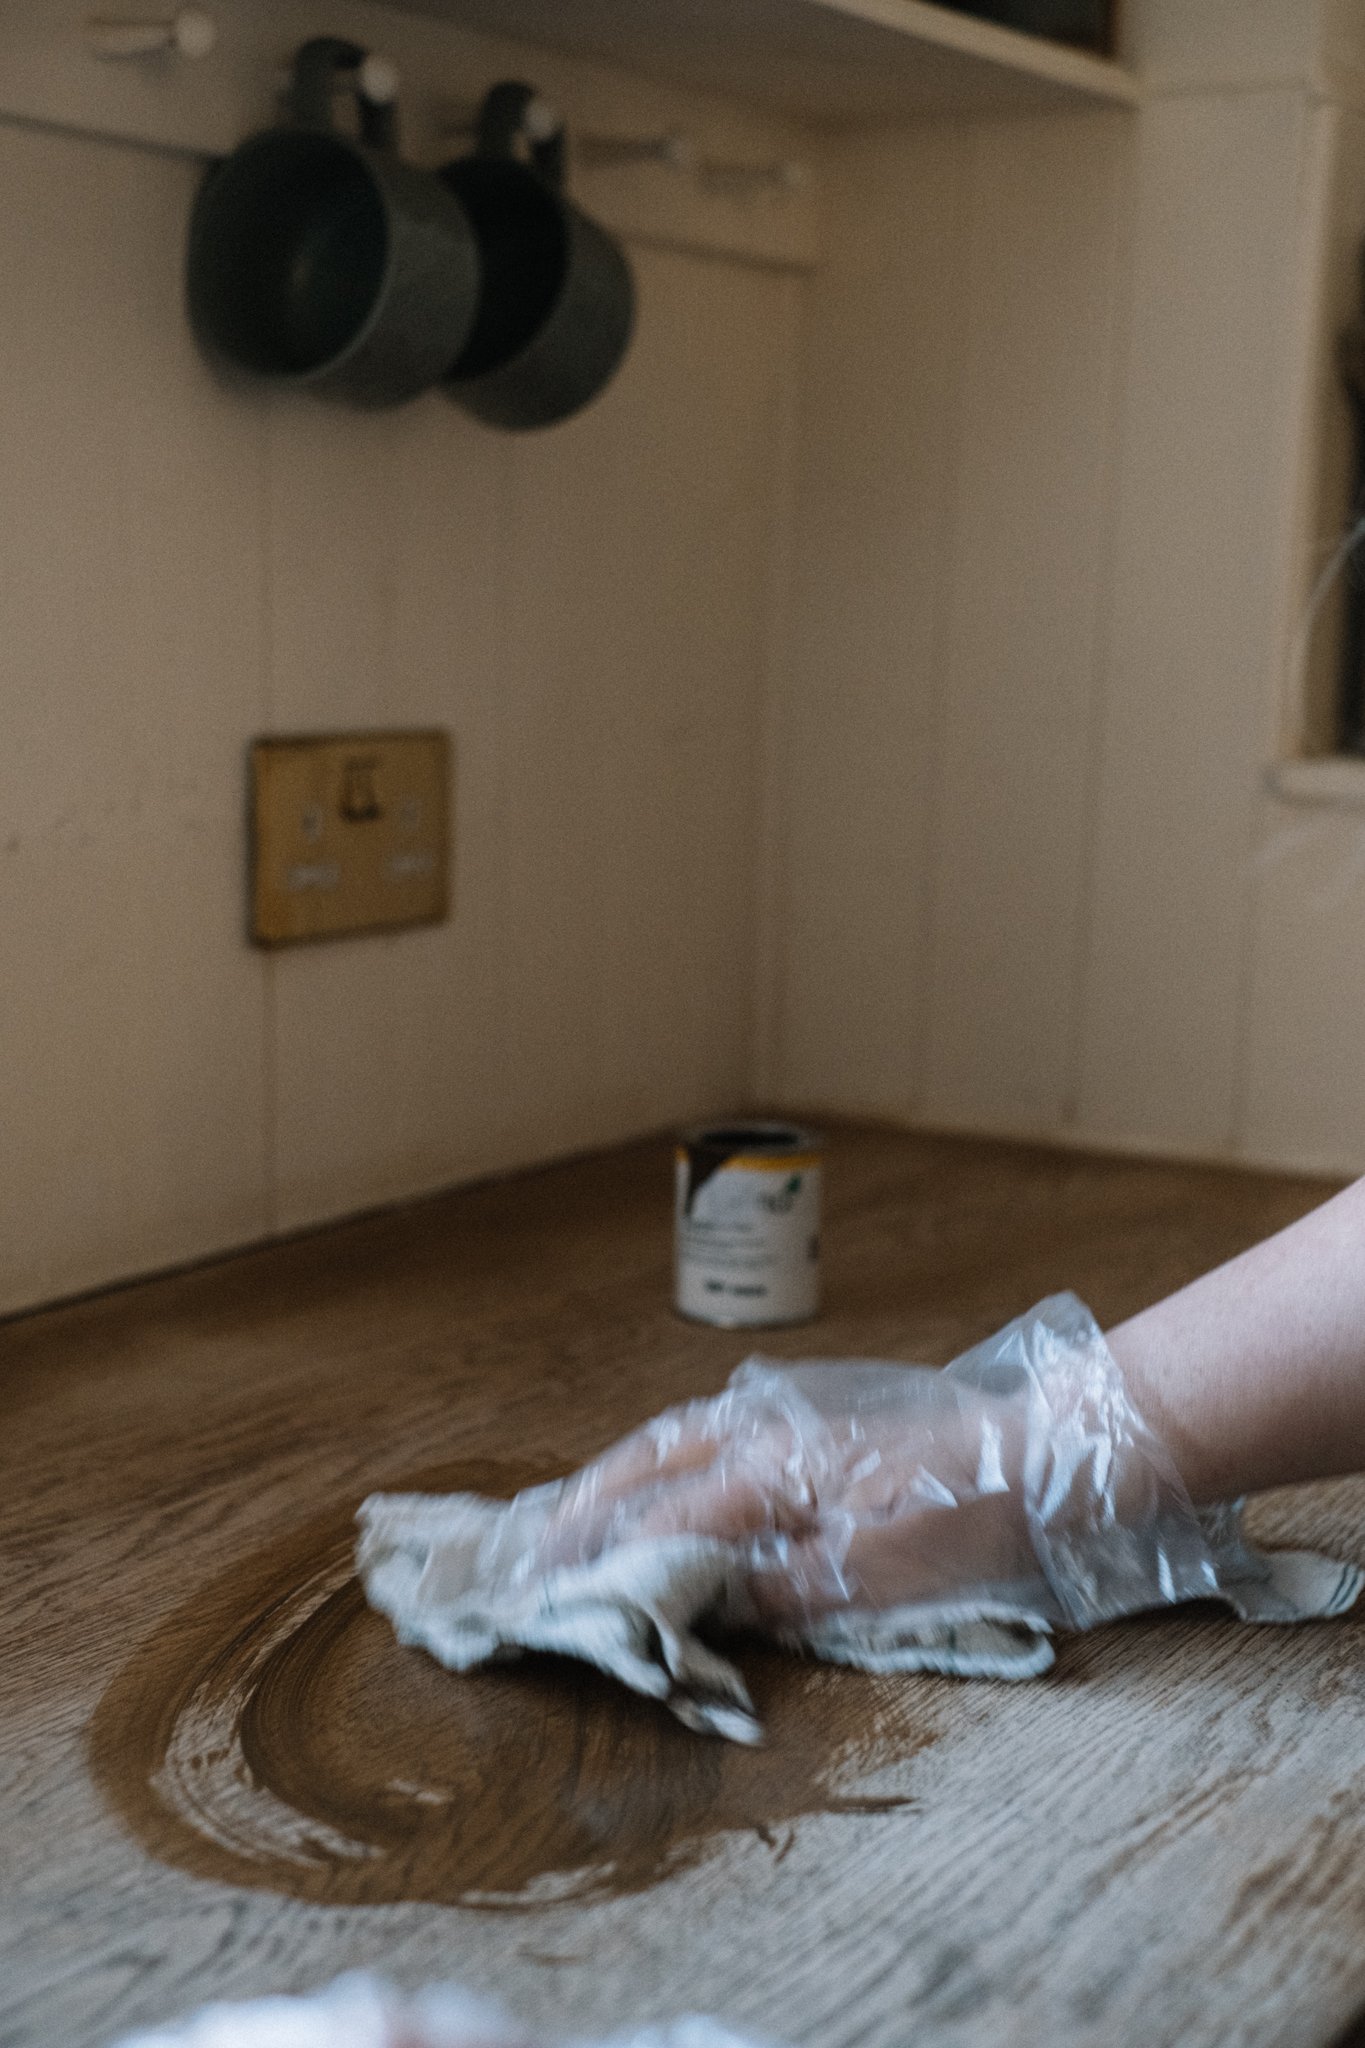
Step 3 - oil your surface.
A good oil will seal your wood stopping moisture from seeping in and rotting the wood. It also prevents bacteria from living in the grain.
There are a range of oils out there to treat wood but the key with a kitchen worktop is to choose one that is non toxic and safe to use for food preparation. Linseed or Danish oil are popular choices but you’ll need to make sure you’re super happy with the colour as I find some of the options on the market can be a bit orange for my taste. My absolute go to is Osmo top oil and I use the Acacia stain. It’s a rich, mid tone but without orange tones and it seals beautifully. If you have any questions about what oils to use, drop Wood Finishes Direct a line as they are so knowledgeable and helpful.
To oil your wood worktop drizzle some of and then use a lint free cloth to work it in, making sure you wear gloves as the oil will be an absolute beast to get out your hands. You’ll get the feel for it pretty quickly but make sure your finished coat is a thin layer. I then leave mine overnight and apply a second coat in the morning on a day where I won’t be using the worktop. You’ll need to go easy on it for a week or so while it cures so just make sure you’re using chopping boards and whatnot to rest pans and wet cups on but do lift the boards up after to let the air get to the oil.


Step 4 - look after your worktop.
There are things you can do to protect your worktop - the first is not to use a harsh kitchen spray. My favourite is Spruce as it cleans without stripping oils. Also make sure you have plenty of trivets handy so when you need to out hot pans/cups etc down on your wooden worktop you have something to hand to protect them. Cork mats are ideal. Always use chopping boards on your wooden surface and avoid any direct contact with turmeric, citrus, spices, beetroot and pomegranate.


A floor to ceiling DIY dark wood shelving and desk fitted unit with a retro 70’s aesthetic.