Interiors: a uPVC front door makeover.
This post is in collaboration with Wood Finishes Direct and contains affiliate links, they are of no cost to you but with every purchase made I make a very small commission that helps towards the running costs of this blog
A front door does so much - it’s the first thing people see of your home, the place where you welcome someone to your space. But there’s so much more than that - it is your front facing aspect of your home and can set such a tone to not only your own spot but the street that you live on. Having lived in Brighton, I’ve seen many a front door and observed the impact it can make individually and collectively.
Yet, my own front door has been sat unloved since I moved in and it’s been something I’ve been keen to get done. Being an ex council house the street has some very uniform, maintained front doors and mine was tatty and with fraying wood on the canopy.
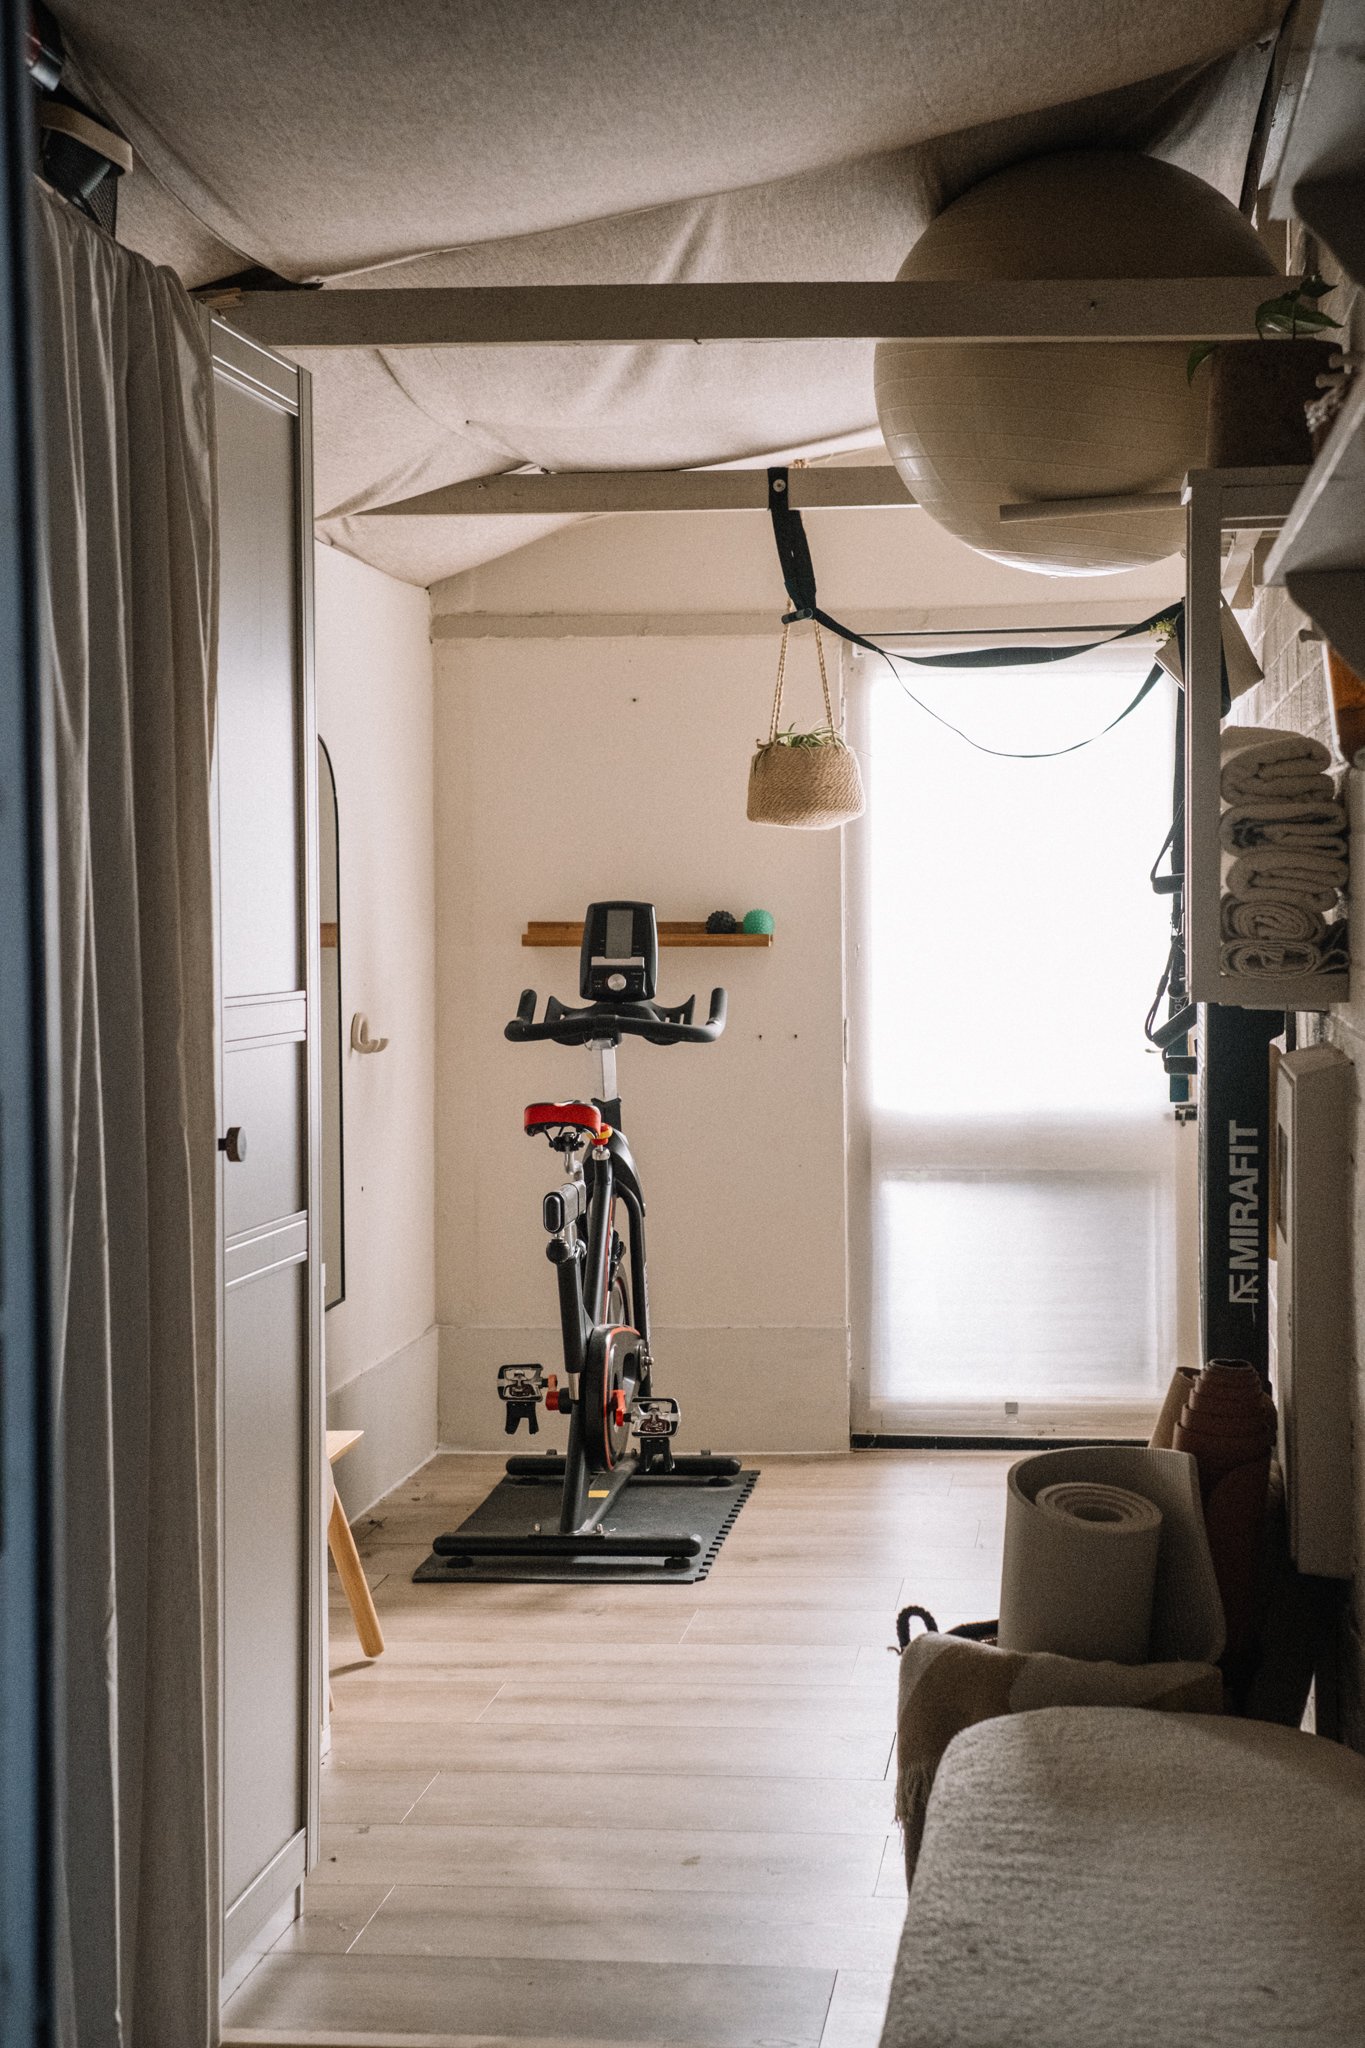
Last year I replaced the fencing all around the front of the house which made such an impact. It yet remains to be painted as I don’t want to tackle it without a paint spray gun (other priorities with money at the moment!) but Wood Finishes Direct were happy to send me some paint to get the front door done. Together we discussed the best option for which paint to use - as I would be painting the lean to (which is now the gym) as well as the woodwork around the front door and then matching the uPVC they suggested I go with Superdec, a very clever paint that treats and preserves wood as well as being bulletproof on aged plastics (including uPVC) and metals.
The before photos.


Choosing the paint.
After some (understatement) deliberation I decided to go with Superdec Jungle Green - I had considered black frames but felt it was a bit out of a place on a 1940’s council house. I felt this grey green would give the uPVC some character but not be too modern and stand out too much on the street. The plan was to do the lot the same colour. However, when I got it up I stood back and took it in and decided that it was a bit overkill on the green and it needed some contrast so I redid the uPVC frames in cream, leaving the front door and lean to in the green.


Prepping.
The first port of call was repairing the canopy. It seemed pretty sound but was slightly rotten on the bottom of one of the brackets. First I removed the swollen ply around the edges and then scooped out any softened/rotten wood. I then got to work filling the gaps and any bits that were uneven - this was an easy job and this filler was easy to use and sand after. I then used some spare fence wood I had to cover the canopy of the door using my jigsaw to cut to shape. Just doing this made such a difference! I then took my orbital sander to any areas I had filled and then took some of the roughness off the wood I had used on the canopy. Also, I just gave everywhere a light once over with the sander where old varnish was peeling away on timber.
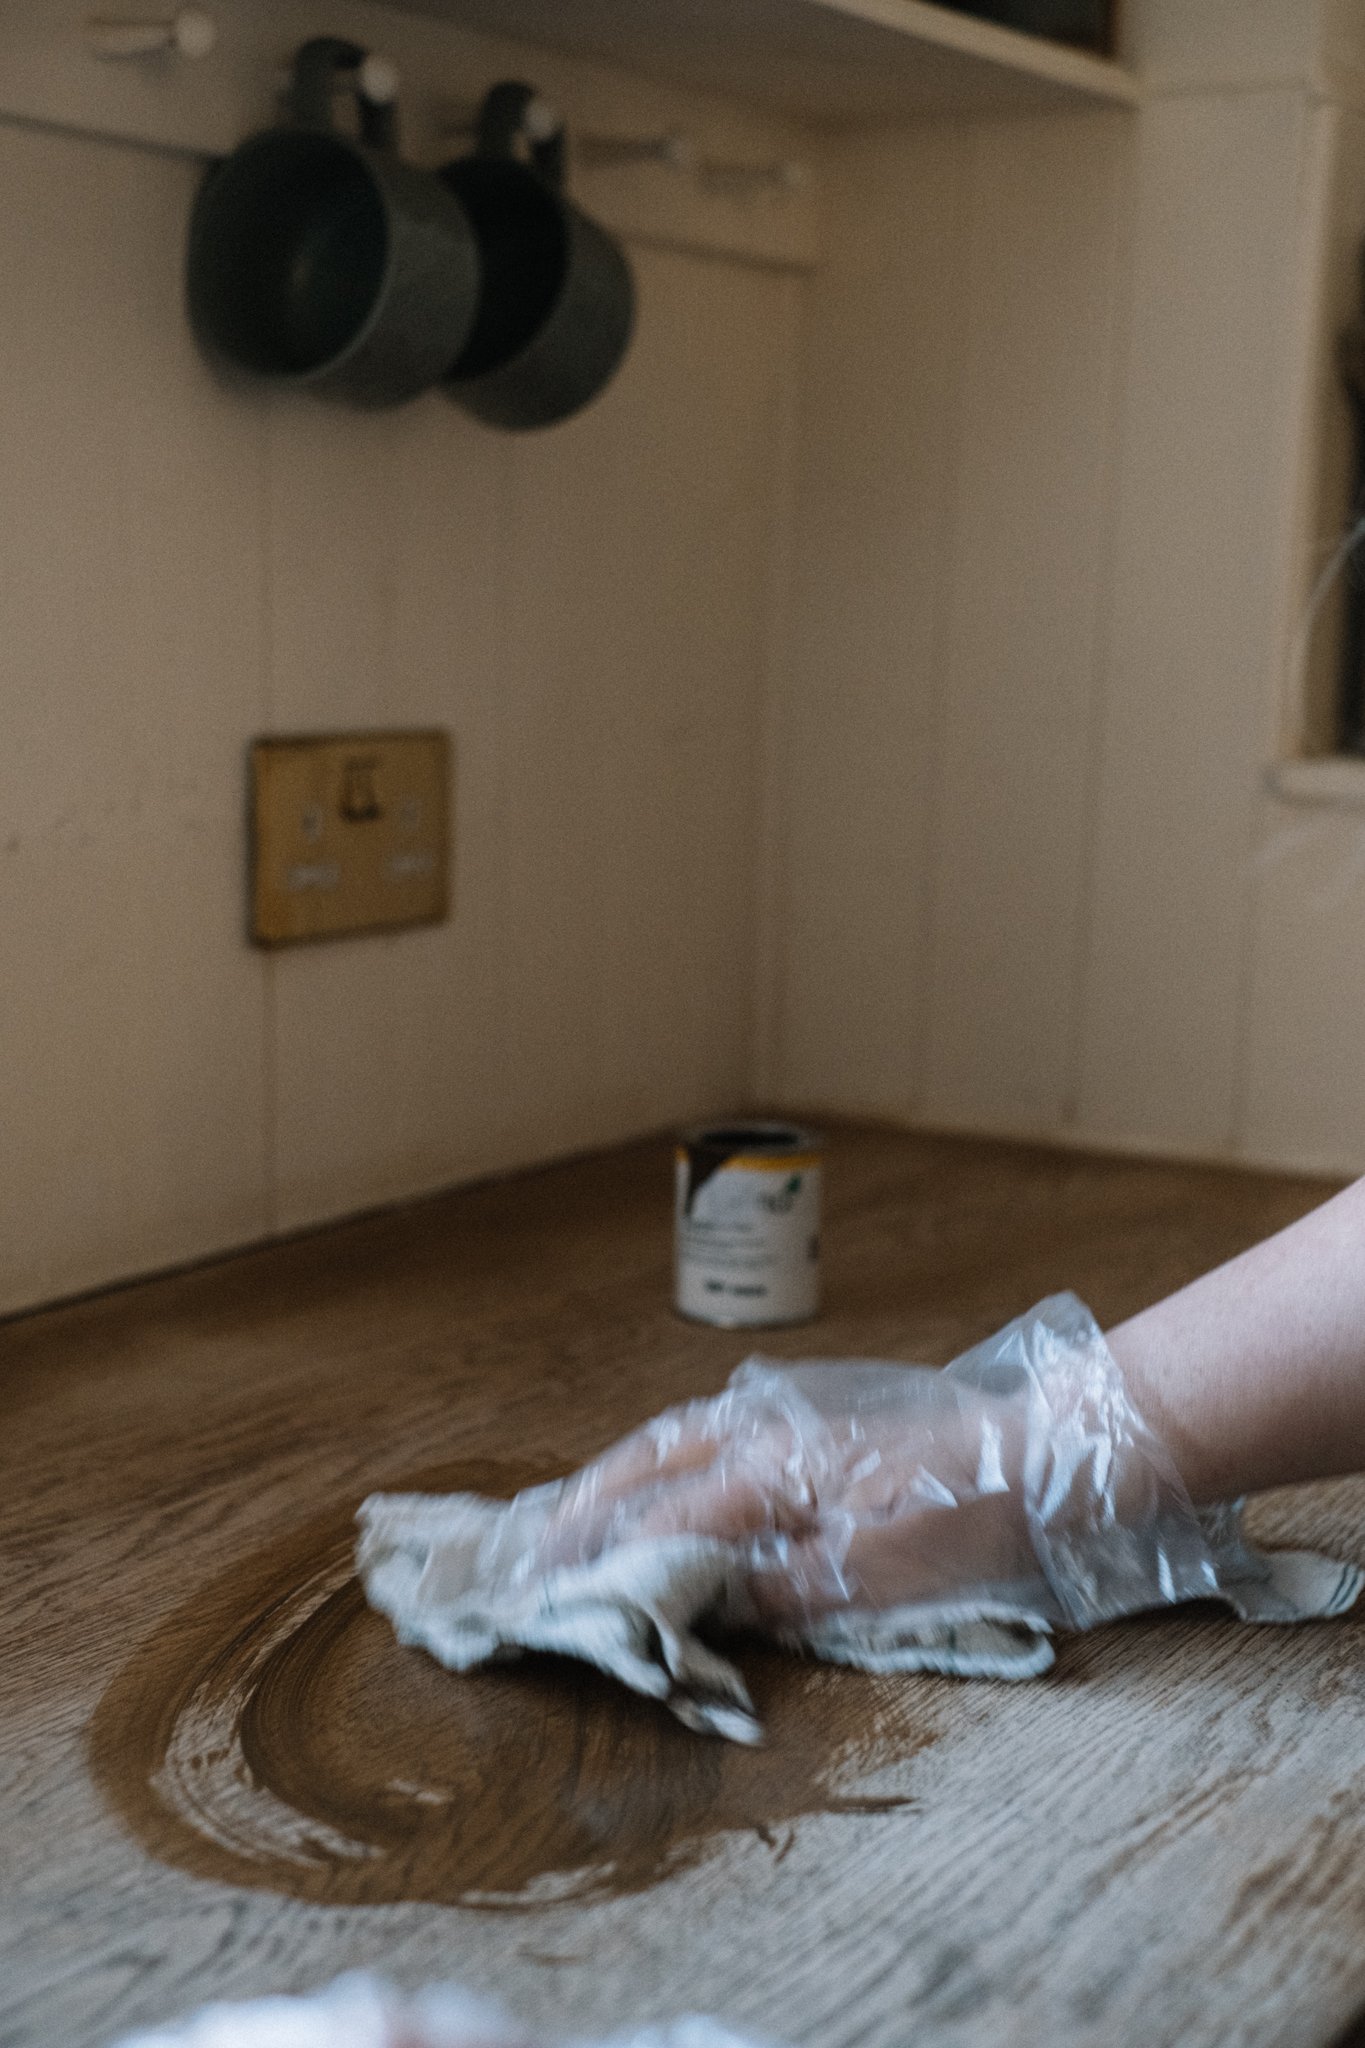
I then used a degreaser to fully prep the uPVC. This degreaser cut through all the marks and grease and left the uPVC sparkling.
Painting.
With uPVC it is worth investing in some good quality painting tools so you get the best finish - I like the imperfect handpainted look on uPVC as think it softens it and makes it look a bit more like wood but there is a balance to be found. Here are my recommendations for the tools you need.
A selection of good quality brushes
Because I was painting the lean to and canopy which was all rough wood I also used a fence brush.
Superdec is a brilliant paint that goes far and is easy to use. I did all the timber first so I could remove any drips off the uPVC if needed. I gave the timber a fairly generous coat as it drank up the paint.
It was then time to do the uPVC which is a different kettle of fish as the paint applies differently onto a plastic surface. What I would say is try and work fairly quick and you can always use a glass scraper to remove any accidental sweeps over the glass and some fine sandpaper to smooth out any bits where you were a bit overzealous. I started with doing all the edges with the smaller precision brush and then got to work on the rest with the medium brush. I did my first coat thin and with a brush - it dried quickly and I was able to do the second coat after a few hours but I did lightly sand a few areas with a block and some fine grit sandpaper. I did the second coat with the brush but then went over each bit with the foam roller as I went to smooth it all out.


This is where I realised I hadn't quite got my colour balance right and ordered some of the Superdec cream paint so I did have to do another two coats on the areas I changed colour so had to do a fair bit of a sanding for a smooth finish but had I not changed the colour I may have just checked it over to see if there were any bits that needed a final bit of a paint.

Accessorising.
What I found was adding the finishing touches really made the door. A door number I had ordered from Meraki months before added a real touch and then I spray painted the letterbox and handle gold to look like brass - it’s easy to remove a uPVC handle, just unscrew from the inside and you can take off the handles to paint (the fitted lock with remain in place). I also had an existing wire rack I had fitted last year to leave my empty bottles out for the milkman and I bought an alpine and a trailing rosemary to sit by the front door. I also have a wall rack that I use to leave my empty veg box out in.
Now the front door is done it feels bulletproof! The paint is really really tough and hardwearing and I’m chuffed to have got a lot more life out of the front door without replacing and sending more plastic to landfill!


A floor to ceiling DIY dark wood shelving and desk fitted unit with a retro 70’s aesthetic.