Interiors: Painting the UPVC Black.
this post contains affiliate links (no cost to you)
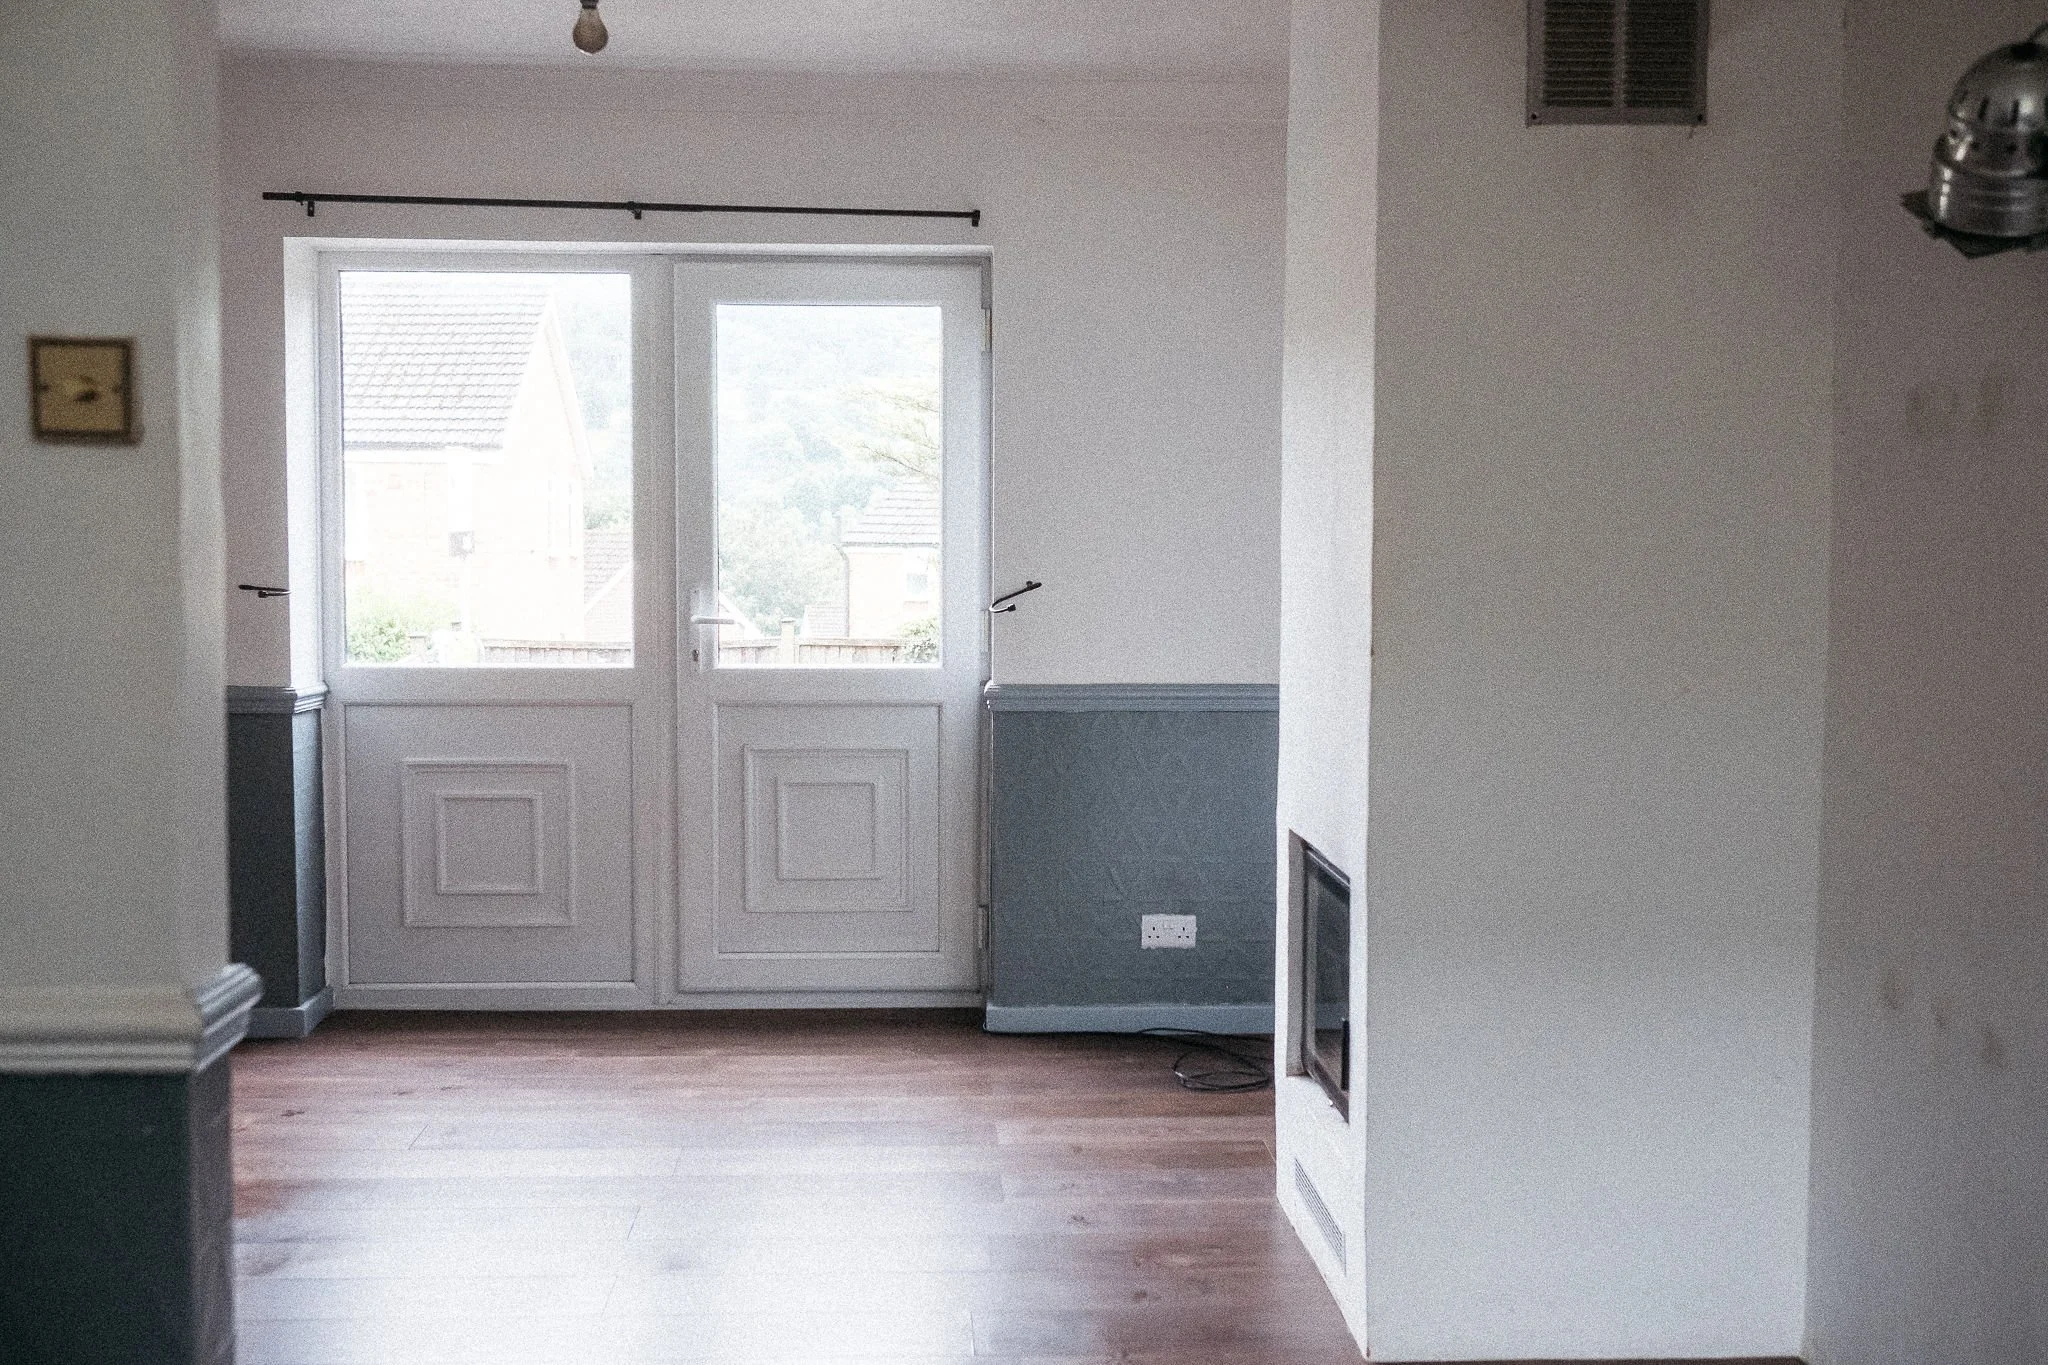
Since moving into the house I’ve been eying up the patio doors in the living room. While a large source of light, meaning the south facing living room is beautifully bright most of the time they do take a lot of attention and despite all the work that’s been done in the room they remained dated and not very attractive. Replacing with crittall doors would be the dream but this isn’t my forever home and there are so many other things that need a bit of budget so it’s not likely they’ll be replaced in the time I live in this house. But what I might do is get the bottom panels removed and replaced with glass as this would be a great way to get that modern crittall feel. My only concern is how much my neighbours would be able to see in as I am fond of doing impromptu downward dogs with Monty and can often be found sitting crosslegged on the floor in my pants hyperfocusing on some sewing task I’ve decided to do instead of getting dressed.
I’ve always known I was going to paint them with UPVC paint somehow but couldn't decide on the colour. I oscillated between dark brown, light brown, greige, earthy green and probably spent way more hours than I should have on the laptop weighting up every shade under the sun. However, it was when the wood burner got put in that it occurred to me that black might be a nice choice. With the black of the burner, the TV and wall arm lamp it might just work.
I ordered the tester - Natural Charcoal (Black) UPVC paint by Rustoleum - and got it up on the door. I really didn't know what to make of it at first, it caught my eye every time I walked past the living room and pulled me in. I was also worried it would take away from the lovely view I have beyond the estate. But something just told me it the was the right thing to do. On a rainy day while my Mum was here - her snoozing with Repair Shop on - I thought I was while away a bit of time and get the door done.
Stepping back from the first coat was one of those wow moments - it had made such a difference and I was really happy with it. My Mum stirred and let out a series of appreciative coos. It really framed the view and bought the room together.
After the second coat some hours later I finished the project off with the replacement of the door handle, which is so easy to do. Here’s the handle I went for and it came with everything you need to fit. With the paint I used an angled sash brush which cut in beautifully..
With the success of the door I also got started on the dining room window with the same paint - the 750ml goes a long way - and it also had such a positive effect on the room framing the large fern outside the window and drawing your eye to the garden where the birds frequent the bird feeder. I also replaced the handle but you can use the UPVC paint to paint the handle too - probably best if you remove and paint on a piece of paper.
But have a look for yourself to see the impact it has had with the before and after images below - I’m lacking in before images as clearly I was trying to work round how much I hated the white doors so there are so many angles without them!
Before images.


After Images.


I have a few finishing touches to go but I’m really happy with how it’s turned out! Next I’m turning my attention to the other side of the UPVC and transforming the outside of the house. Watch this space! (I know I always say that)


A floor to ceiling DIY dark wood shelving and desk fitted unit with a retro 70’s aesthetic.