Interiors: The DIY Bedroom Headboard Wall.
this post contains some affiliate links. they are of no cost to you and the link is always determined by recommendation rather than me recommending on account of the potential small earnings.
I definitely reached renovation burnout a few months ago. I’m finding it hard to get even the smallest tasks done in the house - I suppose it all comes down to how much it had taken over my life and having lost focus on my work and personal life I started feeling resentful of the time I was spending on the house and I didn't want that.
That said, I’m in a place where I can’t really get on with many elements of my desired life because of what is left to do in the house. A few examples are needing areas to shoot products for my work. And wanting a welcoming and functioning house to start doing supper clubs again, something that was a deciding factor in buying this house. Plus it can’t be ignored that I have some partnerships with brands for this blog that involve doing some actual DIY.
So I’m trying to strike a balance and set myself small tasks to chip away at what needs doing but it feels for every job I do I uncover another! Anyways, this is not a woe is me post more just a note of where I’m at with it all. I do have to remind myself of what has been done so far and there isn’t a day that goes by that I don’t mark a gratitude for the house and what it gives me.
When friends and family had been round to see the house they’d ask why the bed was pushed up against a slim chimney rather than the solid wall opposite. It’s a fair question but it came down to what felt right - I didn't want my bed so I was sleeping behind the bedroom door. Feng Shui principles say you should face a bedroom door while sleeping - called the command position - and it’s definitely what felt right for me. Having the bed against the other flat wall meant that it would be tight while entering the room and you would only see the bed blocking the way which would have felt cramped and unwelcoming. So the chimney wall it was and I’ve had the same plan for it since before I moved in a year ago.
In Feng Shui a headboard is considered important to feel supported in sleep - the ideal material is natural wood and while south facing is the most desirable facing direction for headboard it could be considered that having the bed in the command position (facing the door) maybe more of a priority.
I’d seen this image on Pinterest and knew something like this would be an excellent solution for behind my bed. Creating a cladded headboard type feature along the wall would soften the chimney and bring some cohesion to the room. I knew it would be a fairly straightforward project but what has been holding me back is the need to remove the laminate on the floor first - I could have attached this build to the laminate but I really didn't want to keep it and wanted to restore the floorboards I had seen were there in a very old Rightmove listing.
A month or so ago a remote photography commission came in from a lovely brand I’ve worked with before. It was so lovely to be trusted to produce this project and it was under the understanding I could hit the brief by shooting at home. Bit by bit I’ve been sorting shoot worthy corners in the house but what I was seriously lacking was a decent bedroom scene. The spare room doesn't scream luxury yet, the office has a day bed in which isn’t quite the right vibe and my room was wholly unfinished with the bed floating around in the room being as I hadn't tackled the chimney wall.
So it was time. And tackle it I did on a very tight deadline! My plan was to just pull up enough laminate for the build and pull up the rest when the shoot was done but once I started pulling the laminate up it turned into a complete job. It took me longer to load the van and take to the tip than it did pulling it up from the room. And honestly, getting it up has completely changed the energy of the room for the better.
So with the floorboards exposed I got to work on building the frame for the headboard.
Building the frame.
The cladding I intended to use is lightweight so I knew a simple front frame would do the job to attach it to. I simply measured and cut stud timber to fit in the space I was using - so two lengths for the longer sides (between the exterior wall and chimney wall) and then measured how high I’d want the top of the cladding to be and then deducted the height of the longer length stud timber. I fixed in the longer length on the bottom first and then the two side studs using a drill to drill two holes through the stud and allowing the drill bit to mark the wall slightly. I then took the stud timber away and drilled a hole where it had marked the wall and added rawl plugs. Using the holes I had drilled into the stud I used long screws to attach into the fitted rawl plugs. Then I just fixed the top frame piece onto the side studs but while I was there also fitted a similar piece at the same height to the back wall so I had a ledge for when I added a shelf later on.
There was also the right hand side of chimney to do which was a slightly different set up as it wasn't meeting a wall due to there being a cupboard there. But I used a similar process but added pieces in between the back wall and frame at the end to secure it.
I made sure the frame was sitting flush with the chimney as knew I would cladding all the way across.
cladding.
The cladding was definitely the easy bit to this project - I simply cut them all down to size while still tethered together out of the packaging using a mitre saw. I think it would definitely be worth buying or borrowing a mitre saw if you don’t access to one for cladding - it ensures they all stay at a similar length and gives a nice clean cut.
Then, using grab adhesive on the areas the cladding will meet the stud frame I methodically worked right across to the end of the frame on the right hand side. It beautifully worked out that I didn't need to cut the end piece of cladding as it fitted perfectly. Likewise the few pieces from the back wall to the front of the frame fit perfectly too bar a millimetre or two but no matter as I was going to be fitting corner beading anyway.
Once all fit I then drilled pilot holes (very important as this cladding splits easily) to insert a screw to secure the cladding to the frame top and bottom every 4 or 5 boards. This just means as the cladding shrinks in time it will stay fairly evenly spaced.
shelving.
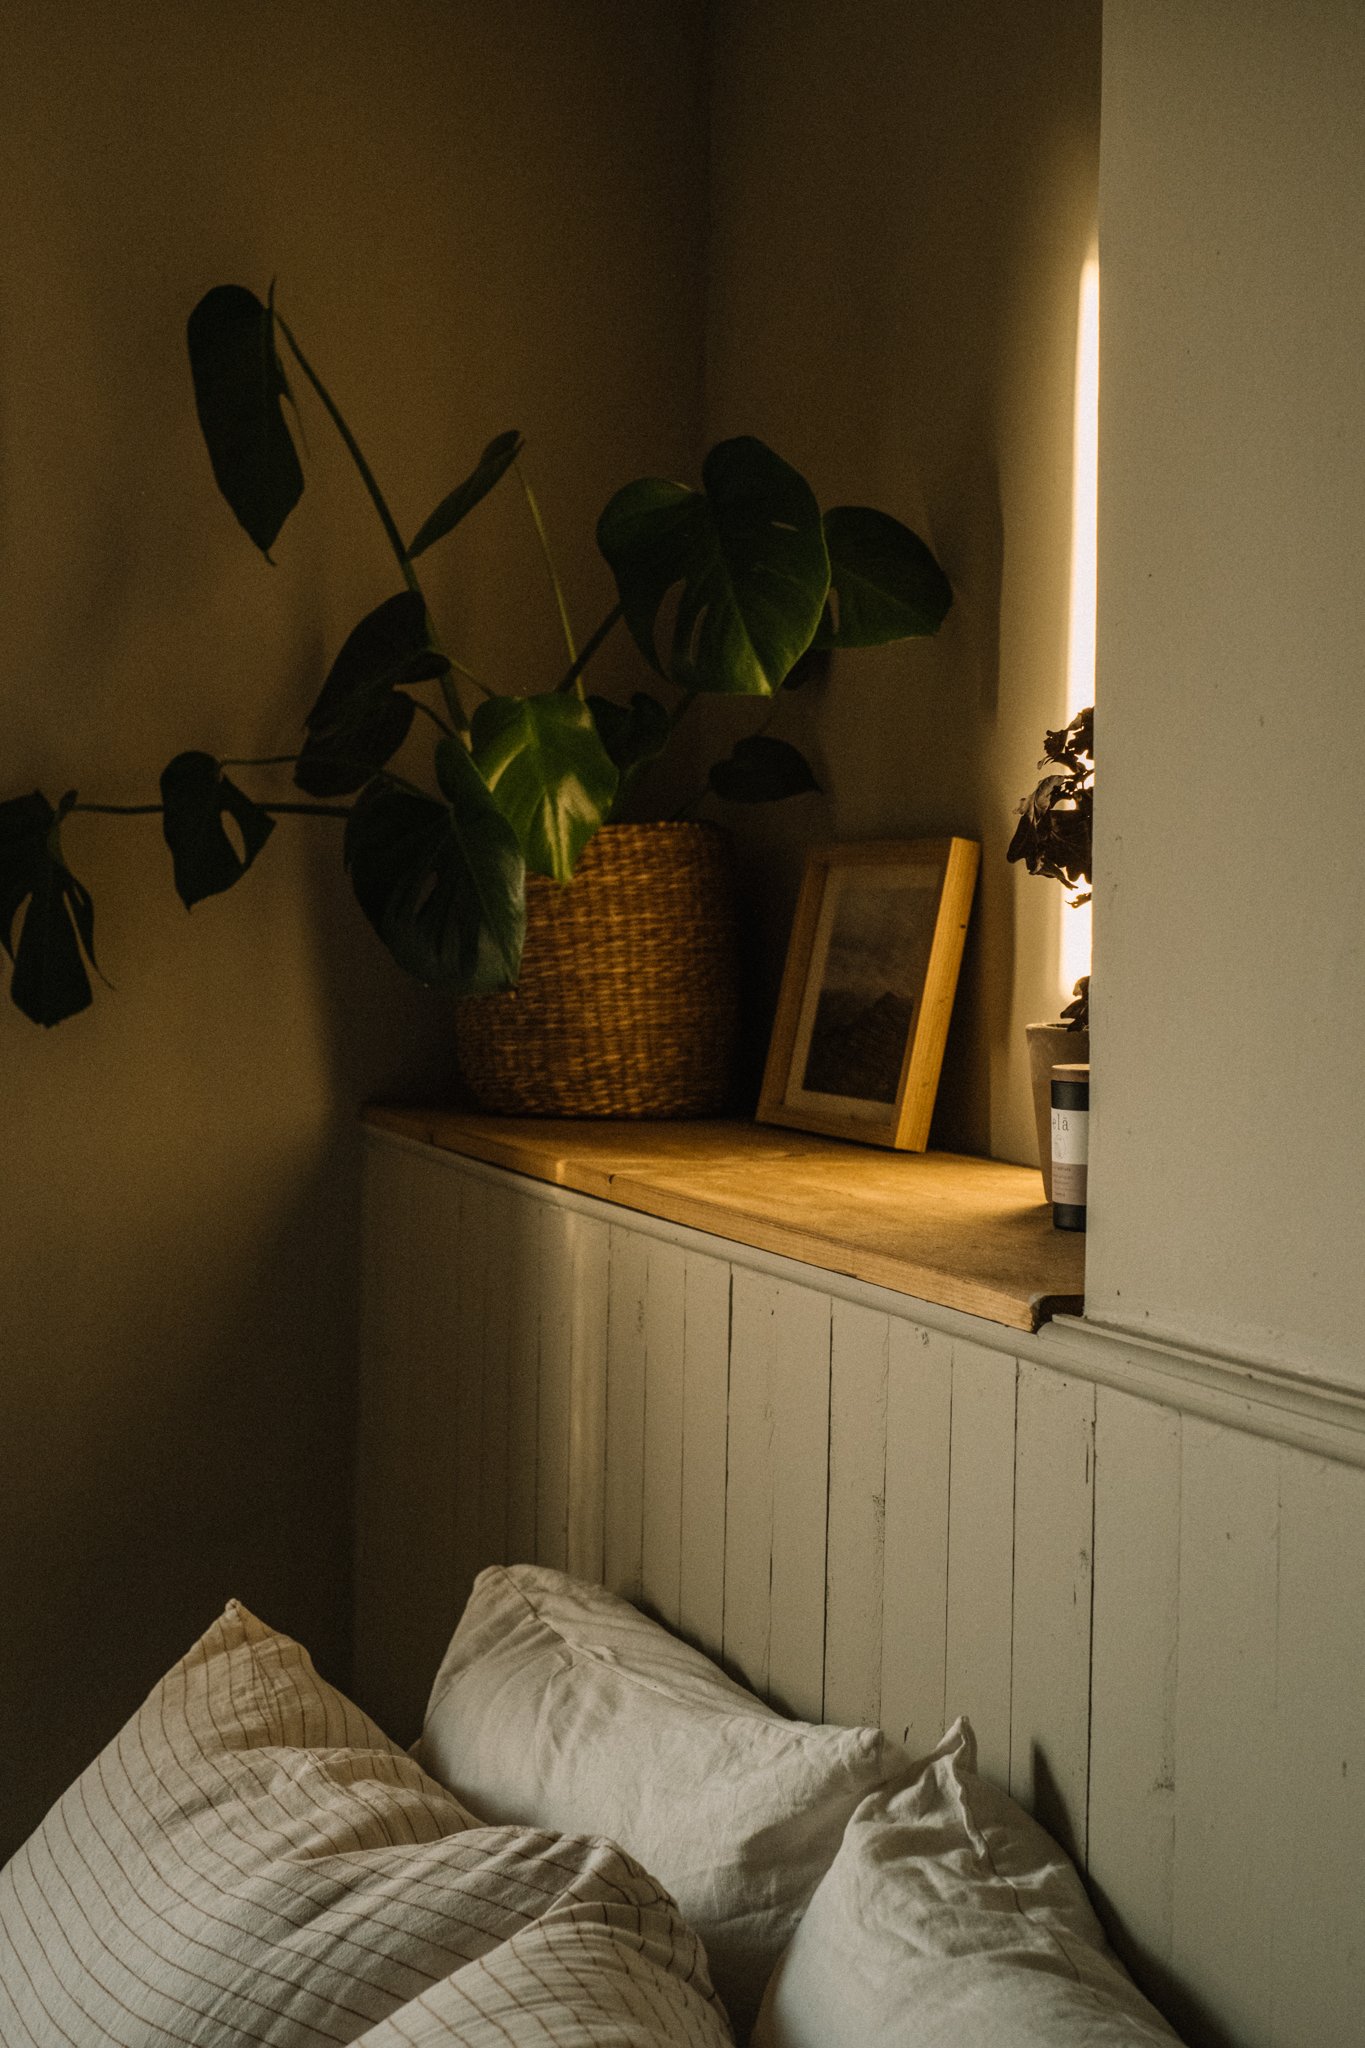
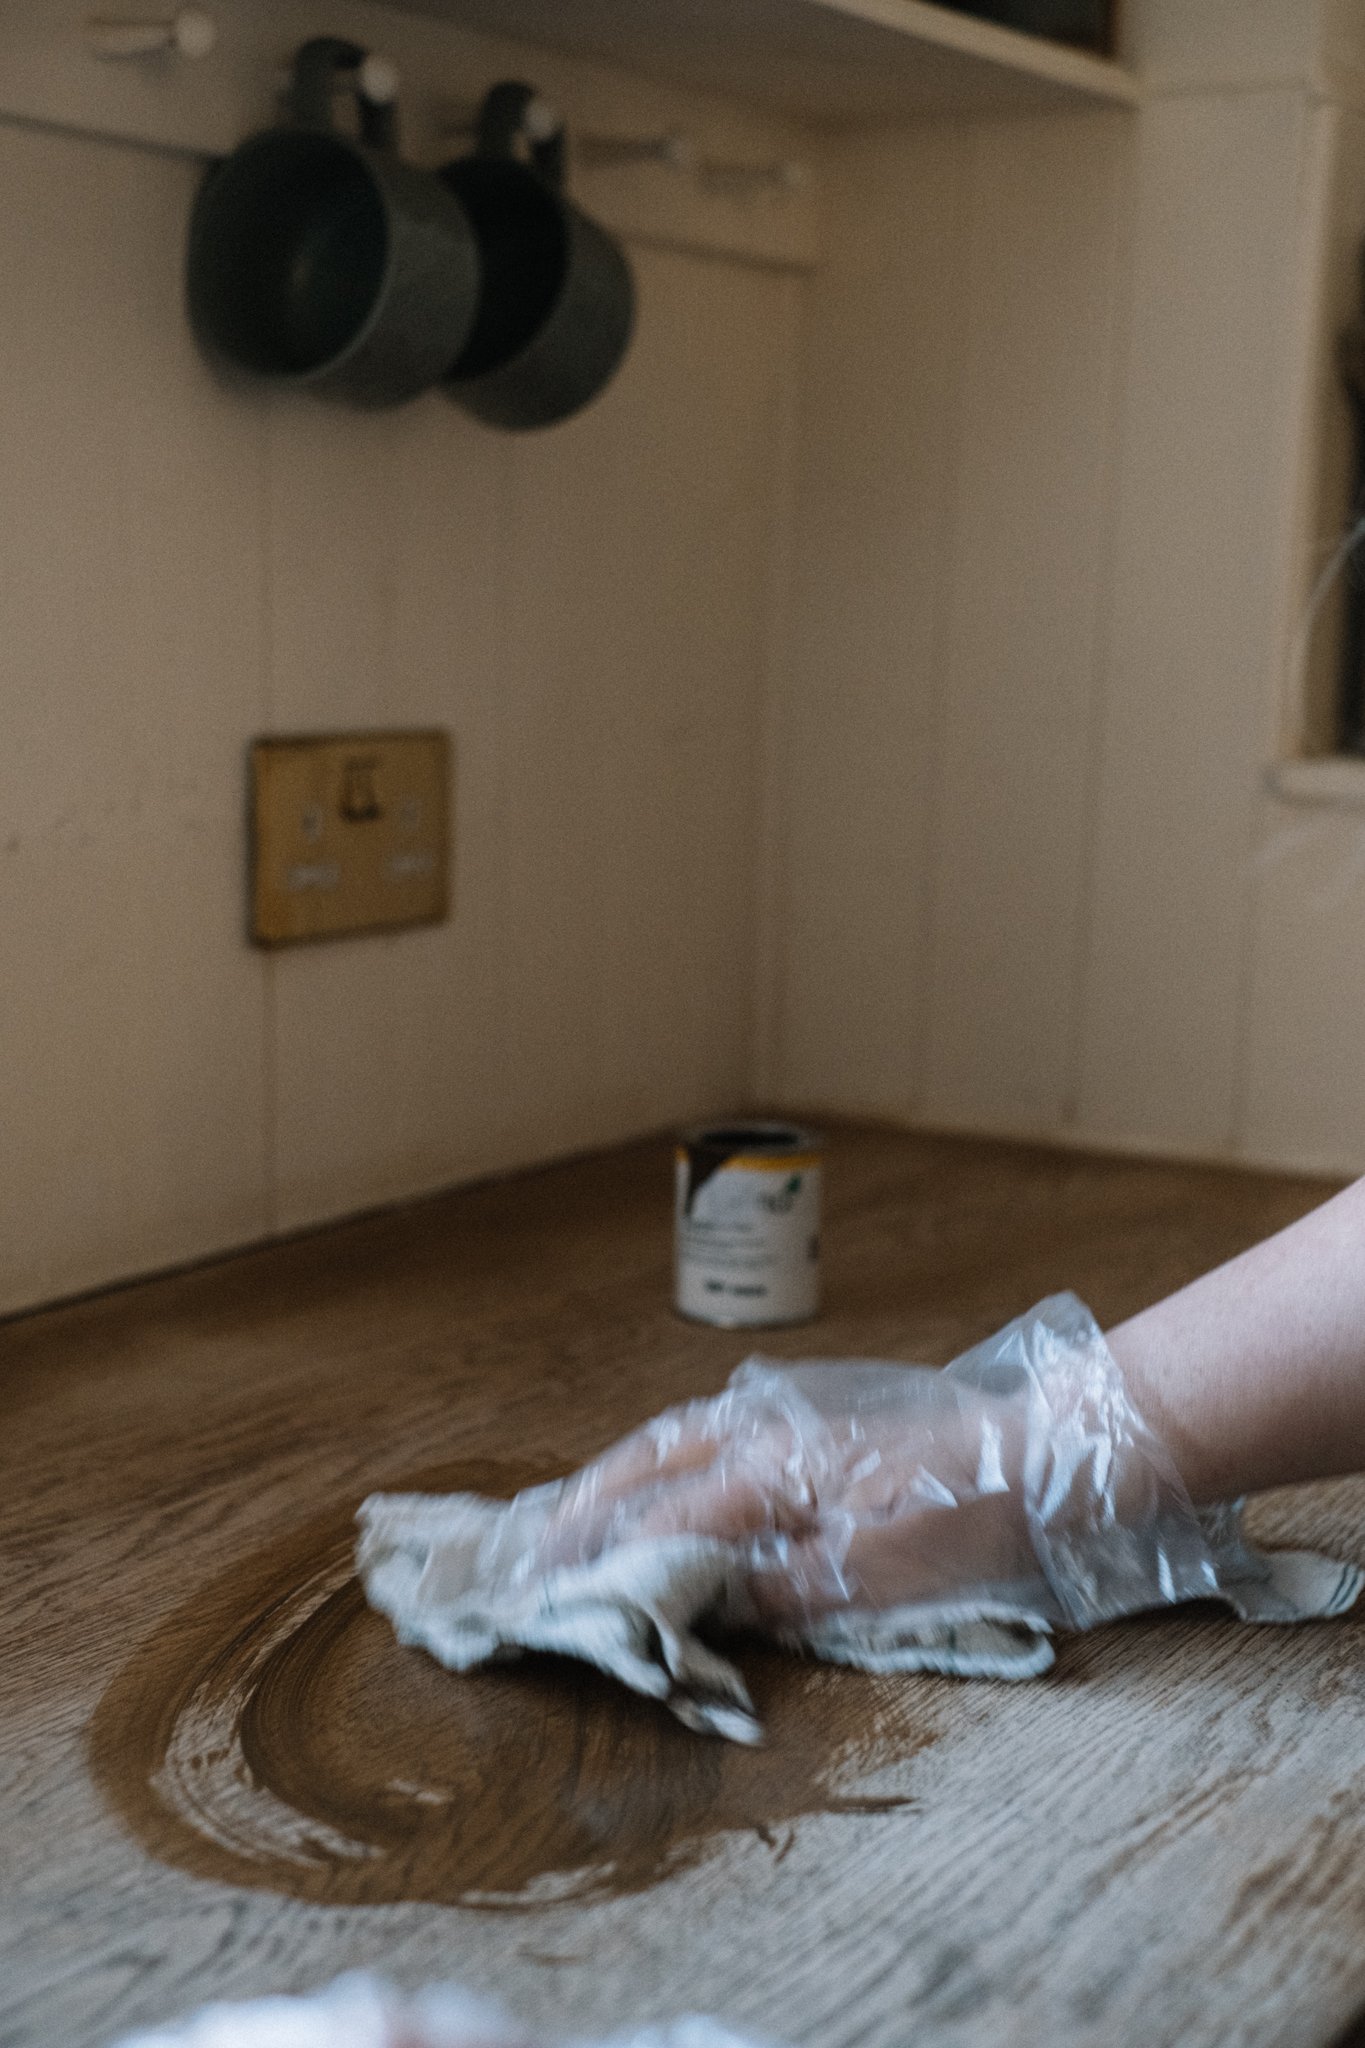
I used timber board for some shelving to create a surface on top of my headboard wall. Once cut down to the right length I sanded down the front top edge for a smoother finish and then stained with danish oil (2 coats leaving the first overnight). I couldn't quite find the right timber board width so used a piece of strip wood (which I also stained) to make up the width which I attached to the wall with contact adhesive.
finishing.
I then identified where I’d need to neaten out with beading - everything looked a bit rough and unfinished so I started planning what beading/moulding I was going to use. Down the corners I used pine glass moulding and along the top I used this one that I really love. I also cut a length of this to fit between the shelves and flipped it to give that area a nice finish so the whole length looked cohesive and it sat flush with the shelves and didn't leave a gap. Finally I used an angle moulding to finish where the cladding met on the right hand corner. I used clamps to hold all the mouldings in place while the adhesive dried. Because they were long lengths I did secure with a couple of thin screws after drilling pilot holes.
Prepping and painting.
Caulk changes everything! I ran caulk along all edges and gaps and just used my eye to see where would benefit from a bit. Caulk is super easy to work with and you can just run your finger along to smooth out providing you haven’t over applied the caulk. I also used wood filler on the top of the screws I added to the cladding.
Once that was all dry I gave it a coat of Ronseals Knot Block Undercoat and Primer. This stuff feels like it won’t do anything while applying but it really works - the purpose of using this is because I used spruce cladding the knots can ‘bleed’ oils out into the paint in time and look really unsightly (I have seen cladding where this had happened and it wasn't pretty!). It does need a second coat so don’t skip that step and once that had fully cured (about 4 hours) I applied two coats of my emulsion (leaving a few hours before applying the second coat) which I had this left over from when I first painted the bedroom.
A few months on I’m really happy with this project, it has made such an impact to the room and feels calming and relaxing. I’m yet to find the right reading lights to fit in it and on the look out for a couple of bedside tables to really bring the wow factor but for now I’m loving this addition to my bedroom. If you’re looking for an impactful way to bring cosiness and character to your bedroom I recommend this fairly easy project. Any questions just drop them below, I love to answer your comments on this blog!


A floor to ceiling DIY dark wood shelving and desk fitted unit with a retro 70’s aesthetic.