Interiors: How to Fix a Wall and Prep a Wall for Painting.
When I bought this house I envisaged that with a lick of a paint and a few additions I would make it feel like home for me. But what I didn't envision was when you start decorating a room in a house you’ve bought it’s that you really want to get it right while you’re at it. Unlike rentals in the past where I’ve just been sprucing up what’s there, each project has uncovered a thousand other jobs.
The living room and dining room are an excellent example of this - when I removed the stud wall in the dining room and got the chimney sorted in the lounge I decided the coving and dado rail absolutely had to come down. Little did I know what mess the walls would be left in after doing this. Stuck up with what seemed like industrial strength cement while removing it all, there were deep holes left in the walls and ceiling plasterboard.
I would always suggest getting a skilled trade to some and sort this for you if you can - by the time you’ve bought the tools and materials you need you may as well enlist a pro to get it done in a third of the time and with less mess. However, I already had a sander and the hand tools I needed and I couldn't find budget to get all the walls and ceilings replastered. I did get the worst of it done professionally and also where there was a new chimney built. But other than that it was a case of rolling up my sleeves and creating a whole load of dust.


Remove wallpaper and fixings
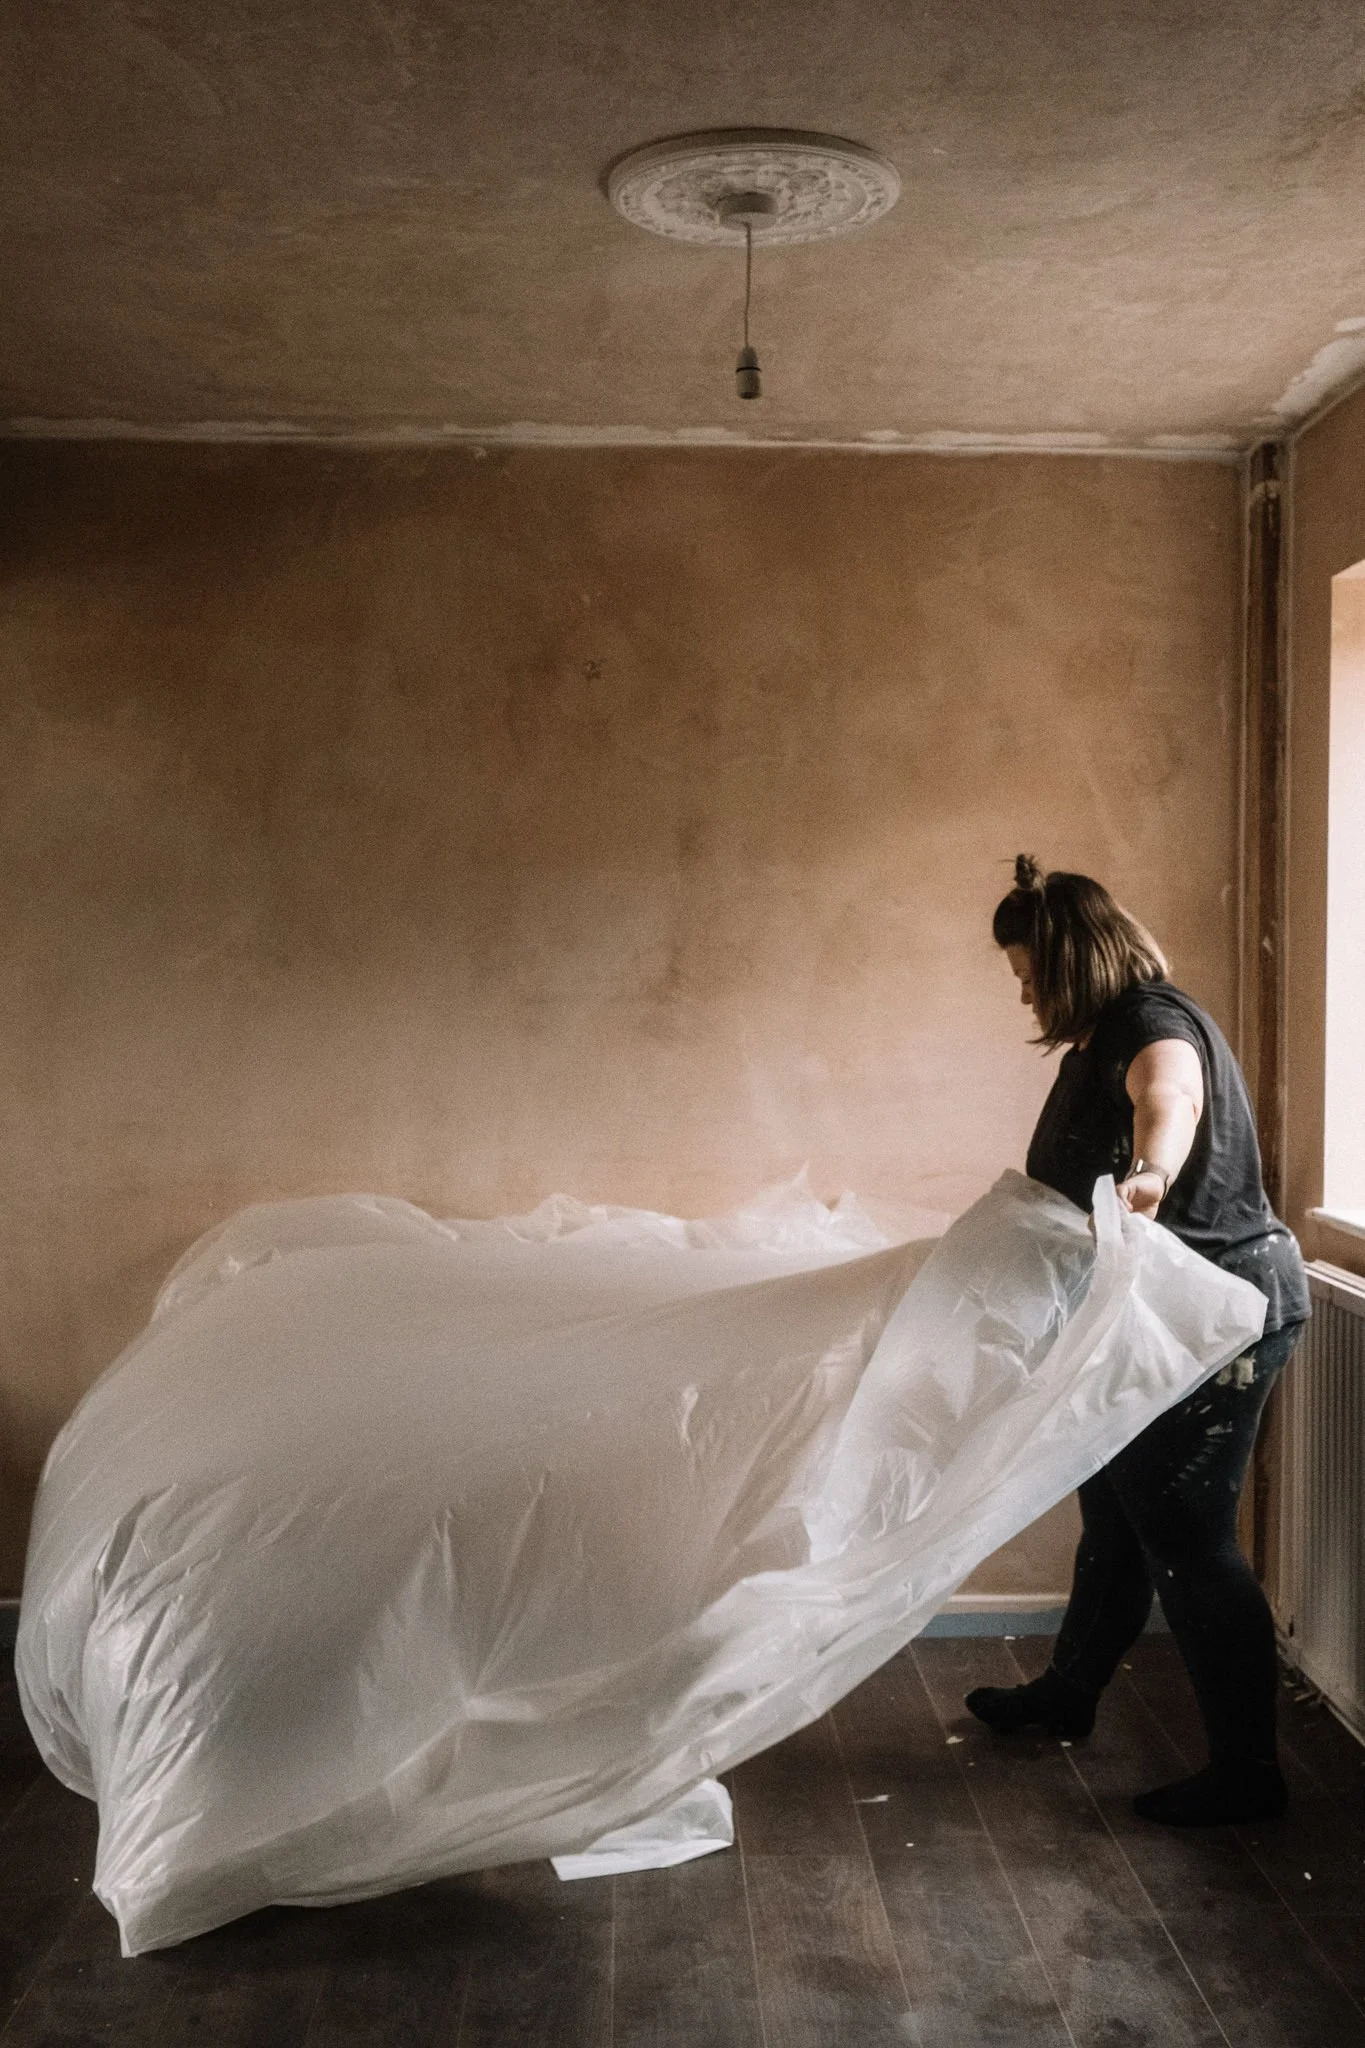
First things first - remove anything you do’t want on the walls. Unscrew any screws and try and pull out rawl plugs with long nosed pliers and prise out nails and picture hangers with a claw hammer or stripping knife (I find using a stripping knife leaves less mess). I wish stripping wallpaper was as easy as ‘strip your wallpaper’ but it’s a job and half and you’ll have to gee yourself up for a lengthy job! Some paper comes off easily and some is an inch by inch job. Determine what kind yours is going to be by steaming a patch (you can hire or borrow wallpaper strippers) and if it’s going to a tricky job you’ll need to score your paper and just bed in for the ride. Be careful not to hold your steamer over the wall for too long as it can cause old plaster to crack.
To remove a dado rail, work along and prise away from the wall top and bottom with a filling knife. For coving, hammer a wide and firm stripping knife into the top and bottom - moving along and doing in spaces along the coving then prise off. For a video on how to do this see here - but mine was not as willing to come off as the one in the video!
fill holes
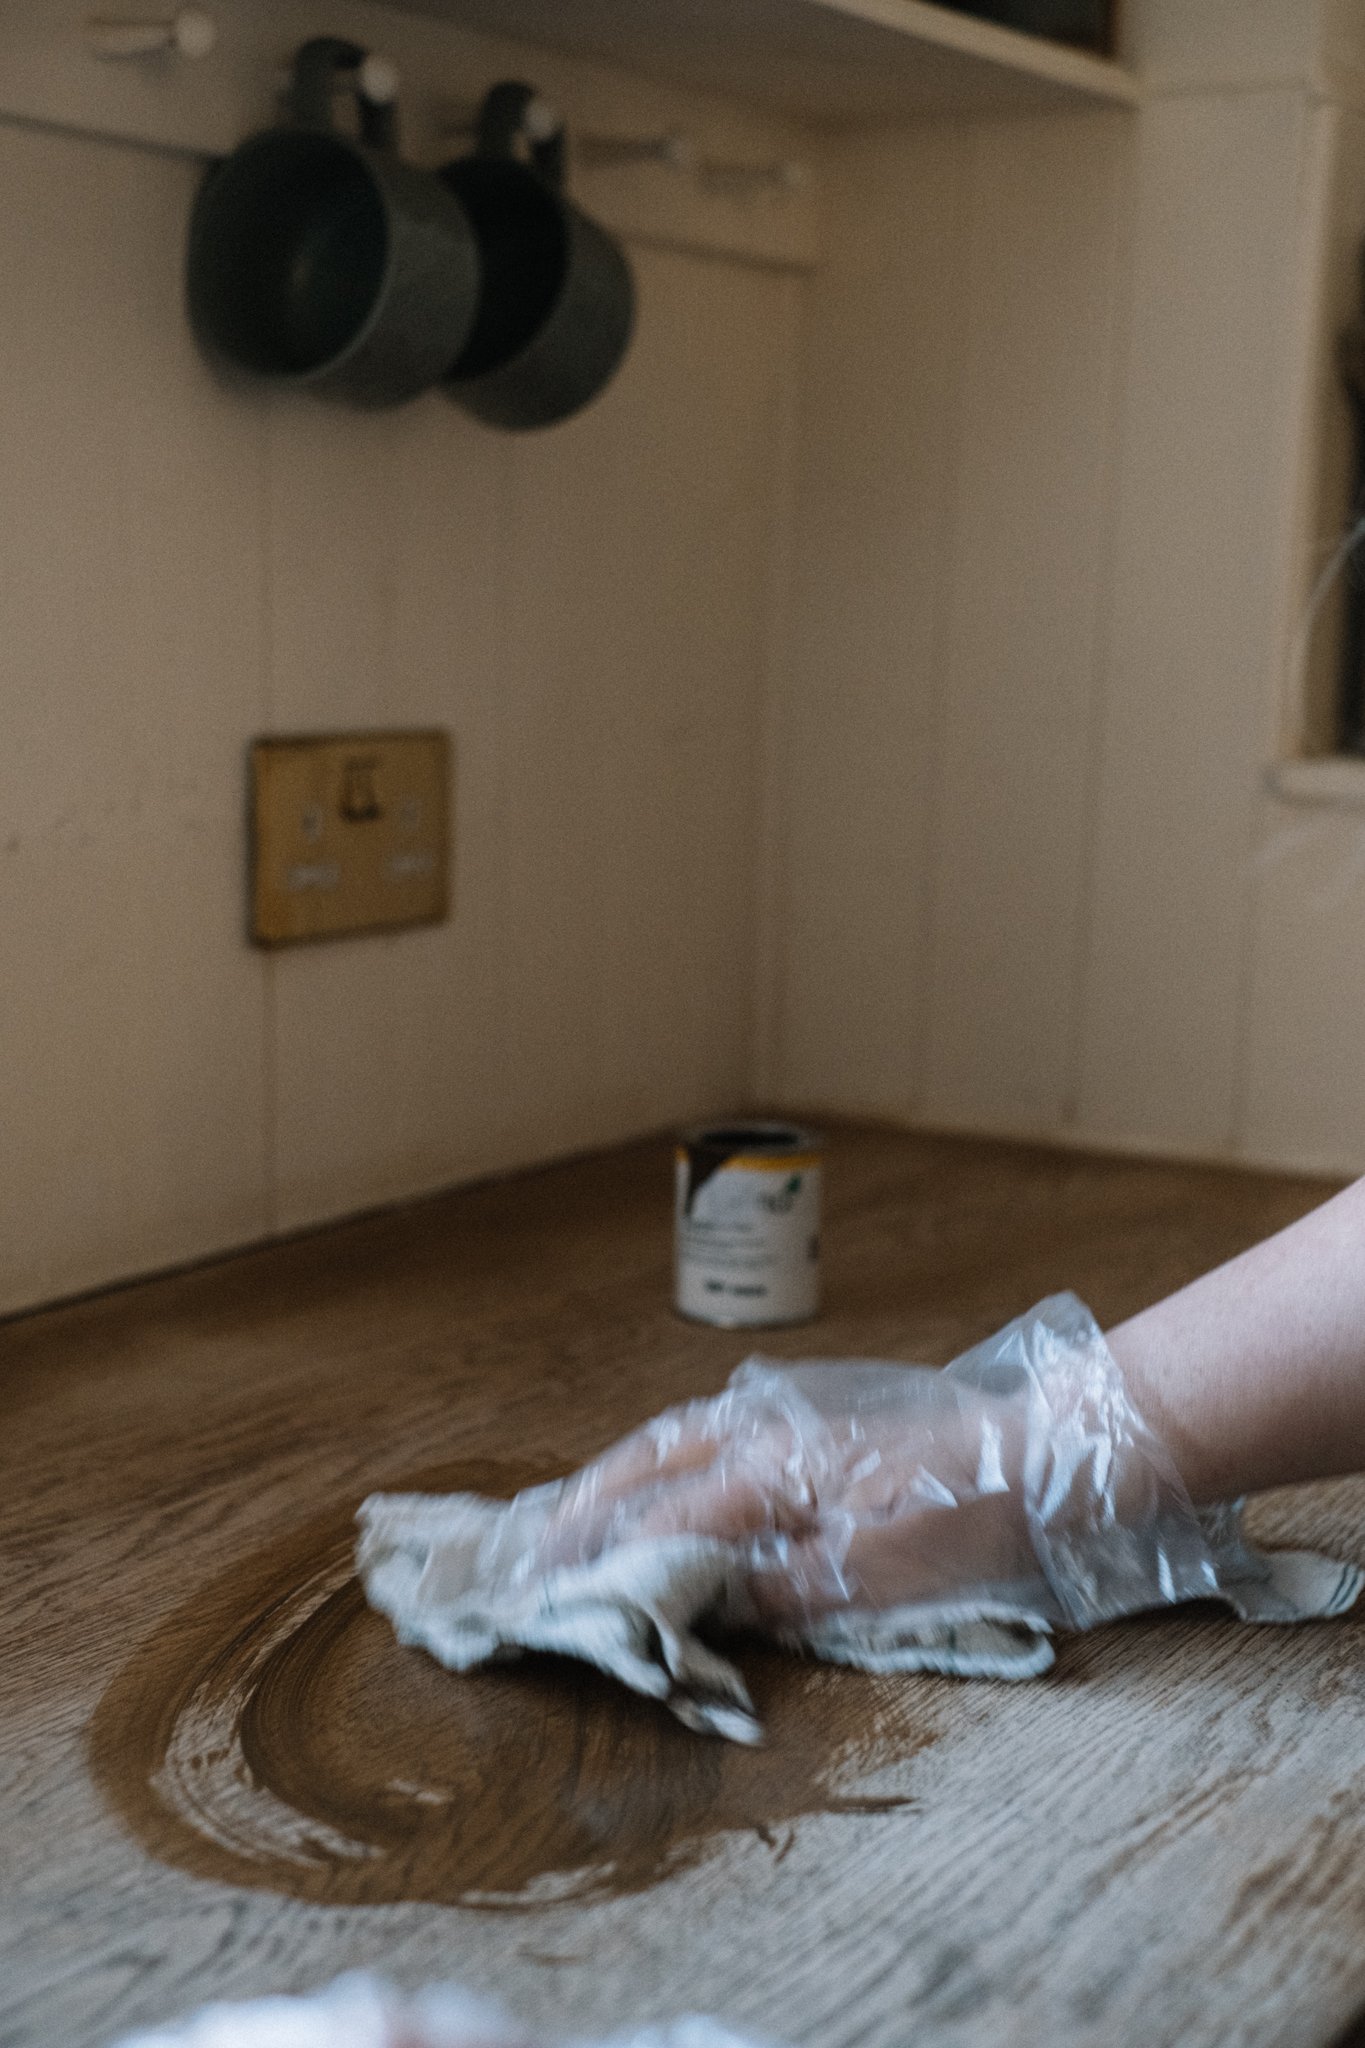
Depending on the condition of your walls and plaster you’ll be left with anything from small holes to deep ridges in your walls. For whichever you have I highly recommend Easifill - if you’ve used polyfilla you may find this a lot slower to dry (I leave mine for 24 hours before sanding and painting) but the quality of it is much better and it’s easier to use. Polyfilla is also not recommended for deep cracks. If you have deep holes you will need to build up the filler - apply a first layer and leave until hardened then build until your hole is filled level with the wall.
first sand
I always do a first sand before a mist coat - it doesn’t need to be perfect but it will save you having to repaint large sections of your walls. I use an orbital sander with fine sandpaper. You’ll want to put up dust sheets to lock the dust in your room, open a window and definitely wear a mask and protective eyewear.

mist coat
A mist coat is absolutely essential for bare plaster - do not miss this step as you’ll be sorry! Because plaster is porous it will draw out any moisture in your paint - so if you’ve ever experienced a flaky wall it will probably be because a mist coat wasn't applied. Applying two coats of a watered down paint will prep your plaster for a proper coat of paint. I use a ratio of 50:50 water to paint. Because the mist coat is watery, you’re going to be making a mess, make sure your floors are covered and anything that paint might drip onto is covered. Edge in (paint around all corners of the room where walls meet ceiling and each other) first as you would emulsion and then use a roller on a pole (otherwise you will get splattered!) to apply. Leave at least 4 hours between mist coats but ideally overnight.
Do a second sand
Now you’ve done a mist coat have a good inspect of your walls and see if there are any areas that need sanding. Using fine sandpaper again sand into your mist coat and brush away any dust. If anything needs filling any further go around and do that making sure the area is dry from the mist coat. Sand down and do final inspections before prepping for your final coats of emulsion.

final paint coat
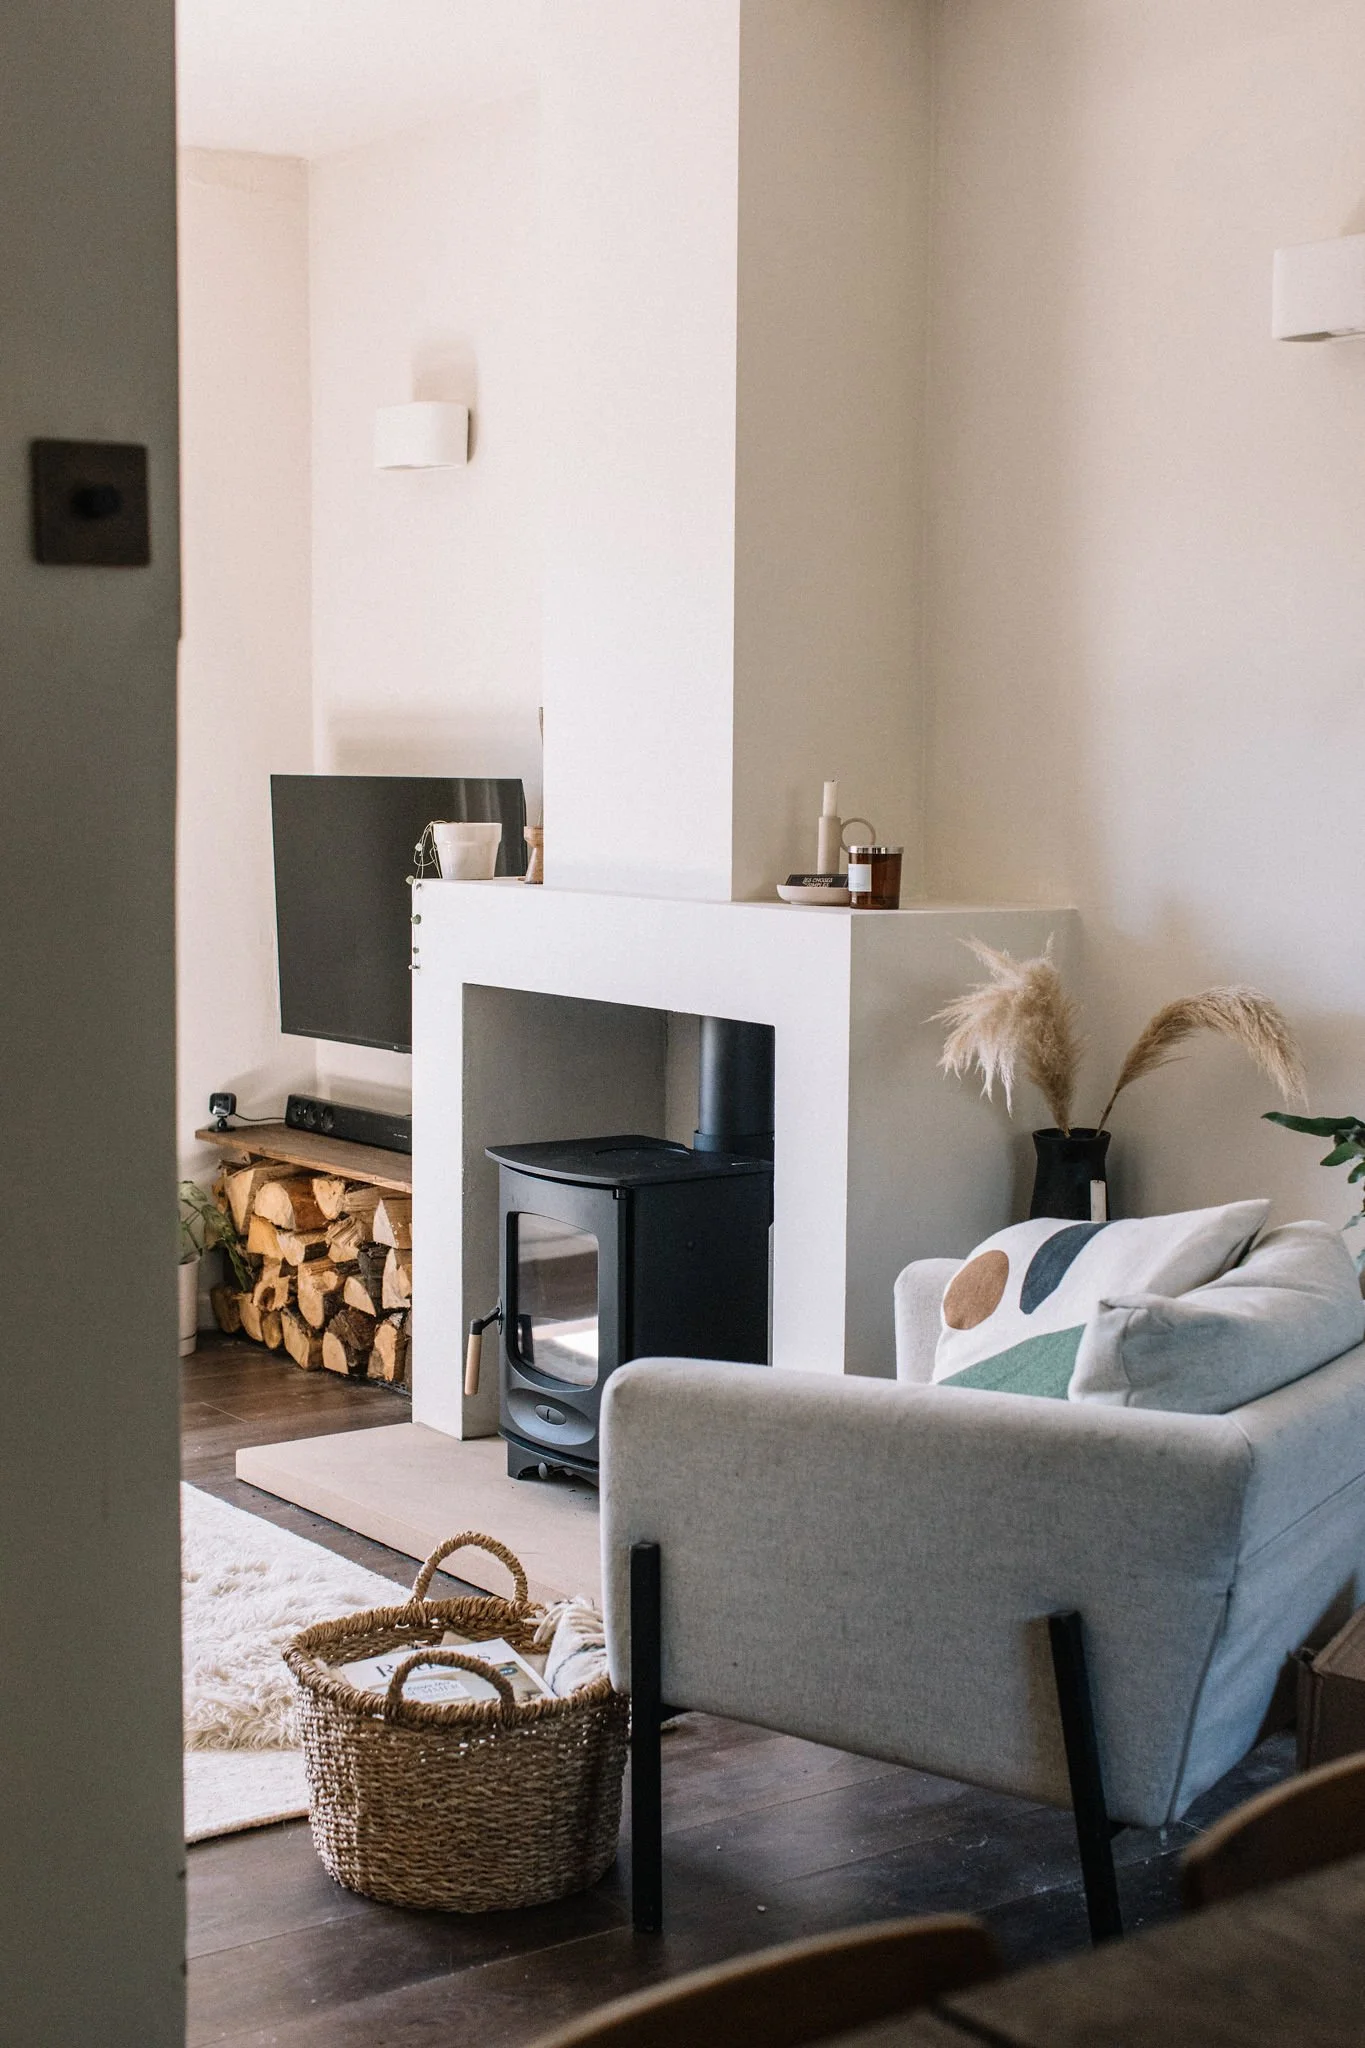
It’s probably felt like a bit of a marathon but you made it! Things should feel easy here on out because the hard bit is over.
It’s time for emulsion and if you’re not sure what type you need, don’t be shy about asking for help from the past company you have chosen. They are experts of their product and can help you make sure you have the right finish for your walls.
Having chosen your emulsion (if you want my recommendations for paint see here) start by doing the edges of your room with a good quality paintbrush (believe me, investing a few extra quid into a good quality brush will make all the difference) and then use a roller to do the main bulk of the walls/ceiling. Depending on your paint or state of walls you may need to do 2-3 coats.


Sharing is caring.
Pin me to Pinterest.
Hit the pin button to the top left of the image as you hover to share to Pinterest.


A floor to ceiling DIY dark wood shelving and desk fitted unit with a retro 70’s aesthetic.