Interiors: Sanding and Painting a Mid Century Table & Chairs.
The dining table has always been an important place for me. I don’t have many memories of sitting around the dining table together at home - I was the youngest and my sisters were always off doing other things. But my aunts had a great group of friends and we would get together and the lazy Susan would be piled up with the most amazing, wholesome vegetarian dishes. Or if it was just me and my aunt Glor (ia), she would sit me at the kictchen table at breakfast time and we would chat, her often educating me about the world and injustice. Or at my Nan & Grandads we’d get together and play cards - my Aunt Hilda a known Chase the Ace cheat. We used to howl with laughter.
Gathering round the table holds such happy memories and was the place where conversation would happen. Where love lived.
Even in the smallest of flats I’ve lived in I’ve made space for a table of some sort from small fold up tables to large extending tables. In my last house there was a whole dining room so filled it with the largest, light wood table where connections were made, troubles were shared and dates were had. But I’ve never really found a table I really loved off the shelf - I tried a couple in this flat and a rectangular table wasn't right, so then I tried a cafe table - too small. Then a circular extending table came up on Marketplace for 30 quid and the seller stressed it was sturdy as anything. I liked the central base and size both as a 4 seater and 6 seater so snapped it up.
As with a lot of the furniture from the era, the table was ORANGE. I bought it knowing it was going to get sanded and revived but didn't get round to it for a good few years - a mix of fear about starting what might turn out to be a massive job and also the noise that would bother my neighbour that is a massive…. ;)
On one weekend in January this year I was suddenly taken by an urge to get the table sorted - I’d been filming a reel and the orange just made it look so ugly. So I set to work and transformed an orange table to a homely place to share and love.
So here’s the run down of my process:
Sanding.
You must wear PPE for this. Do not inhale dust that is full of toxic varnish and protect your eyes with goggles. Yes it’s uncomfortable but is nothing compared to a splinter in the eye ( I realise I don’t have them on in the picture but they swiftly got put on after the pic!).
I used a small hand sander that I bought a few years ago from Aldi and just sanded the top surface and around the sides as I knew I was going to paint the base. I made sure the table was fully extended.
I don’t recommend doing this inside - I did and it took longer for me to get the dust out of every nook and cranny than it did to do the whole renovation of the table. If you absolutely must cover EVERYTHING with dust sheets.
The sanding was actually pretty easy, I really got into it. Just keep a light hand and you’ll know when all the varnish is off because the wood will be light and flawless. It took an hour at most.
PAINTING.
I chose to paint before treating because any splatter of top oil would be hard to paint over. I was painting the base and rim and decided to go black as I had at least half a tin a paint left over from another project. I lightly sanded the areas to paint, wiped with an old tea towel and took a fairly thick brush to it. The paint I had already had primer in it so I didn't have to do any other prep.
Treating.
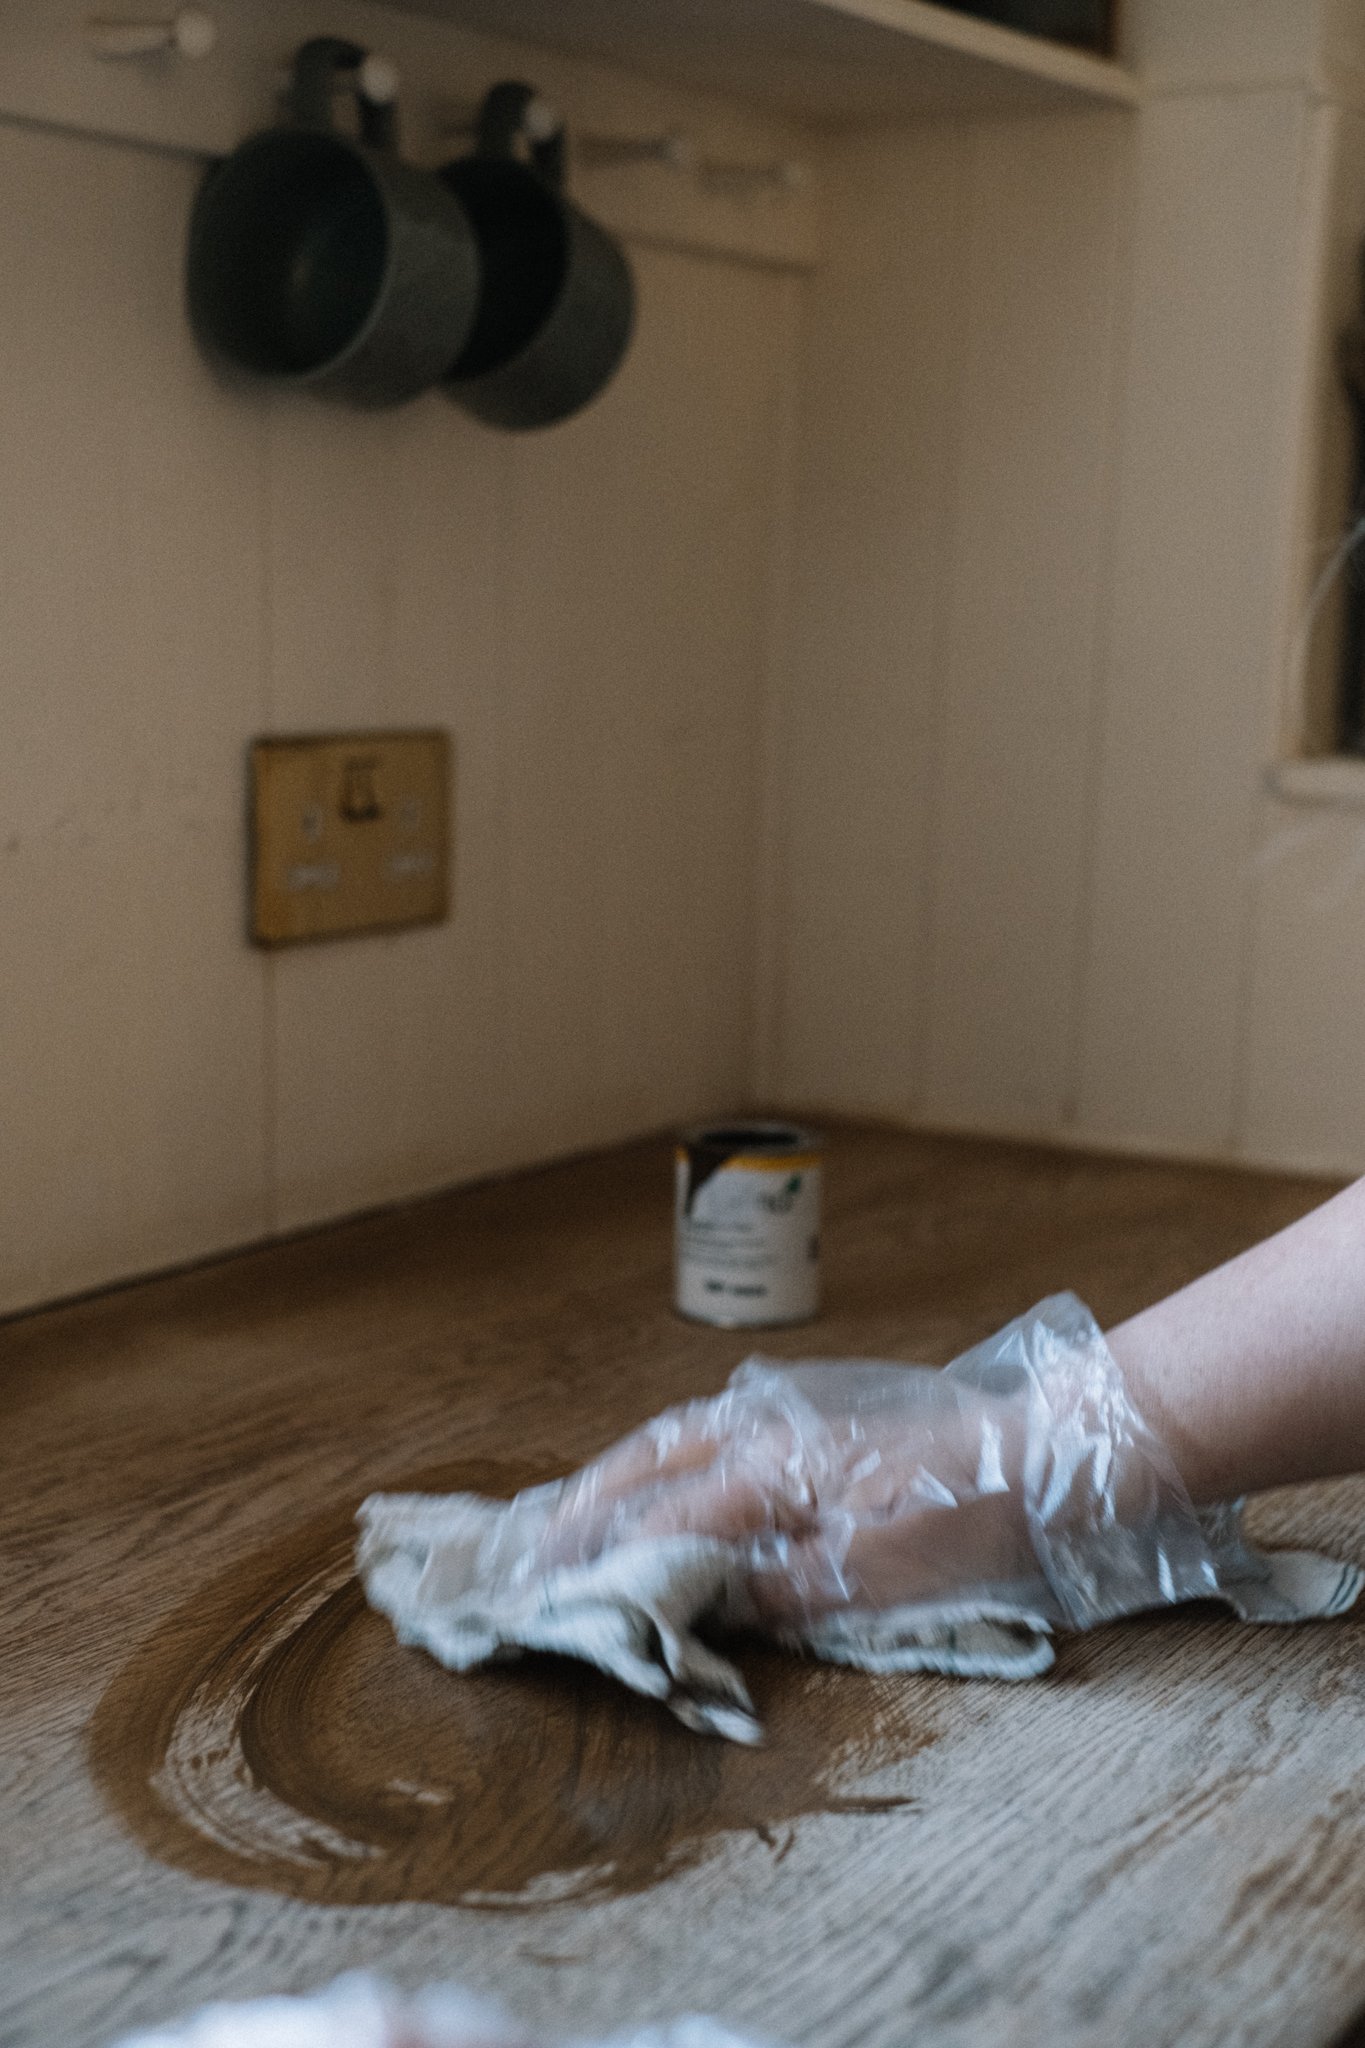
I’d used Oslo top oil in my van in Acacia and LOVED it so decided to go for it on the table too - I love the darker wood and it just looks so classy. I only needed a small tin (about £12) for this project and while it’s easy to work with, do make sure you wear vinyl gloves because this stuff stains your skin and is really hard to get off. I poured into an empty yoghurt pot and rubbed on with a lint free cloth. I used circular motions to rub into the table - it might look a bit messy but once it’s all absorbed into the table you don’t see the motion marks any more. Once you’ve done one treatment, leave the table overnight and then apply another coat. Check the instructions for how long you need to leave it for before using the table as normal - I think it’s about a week. I was just extra careful with a placemat every time I ate off it.
The Chairs.
I had planned to do a lot more to the chairs than I ended up doing. My initial plan was to sand the backs and recover the seats as well as paint the frames. I had some furniture paint left over from the Kallax so used that for the frames - I removed both the seat and back to paint the frames by removing all the screws.
Once I had the seats off I realised how much work it would be so bought some seat pads and will revisit it once I’ve moved and decided on a. colour scheme for the new house. The paint I used was Half Light Matt Furniture paint by Rustoleum.
The result.
I’m really delighted to have a kitchen table that I’m not embarrassed of! The wood looks absolutely beautiful and I appreciate it every day and I’ve dropped all manner onto it and it hasn't stained at all. In fact it’s given me the idea of using reclaimed wood for kitchen worktops and using the Osmo oil as it’s so hardwearing.
At the moment the table lives in the darkest point in my flat and I can’t wait for it to take a more prime position in the new house. For now, it’s still serving its purpose of a place to chat, eat and lift each other up.


A floor to ceiling DIY dark wood shelving and desk fitted unit with a retro 70’s aesthetic.